Overview
In the previous post, we pulled the build image and brought up its container. With the build environment ready, this time we will actually build Envoy Proxy inside that container, then bring up Redis and Envoy Proxy on Minikube to see the whole stack running end to end.
Building Envoy
Building Envoy Proxy is — surprisingly — a one-liner. Bazel handles the entire build:
| |
This only works if you have already pulled the envoy-build-ubuntu Docker image we covered in the previous post. If you have not, follow that guide and set the container up before continuing.
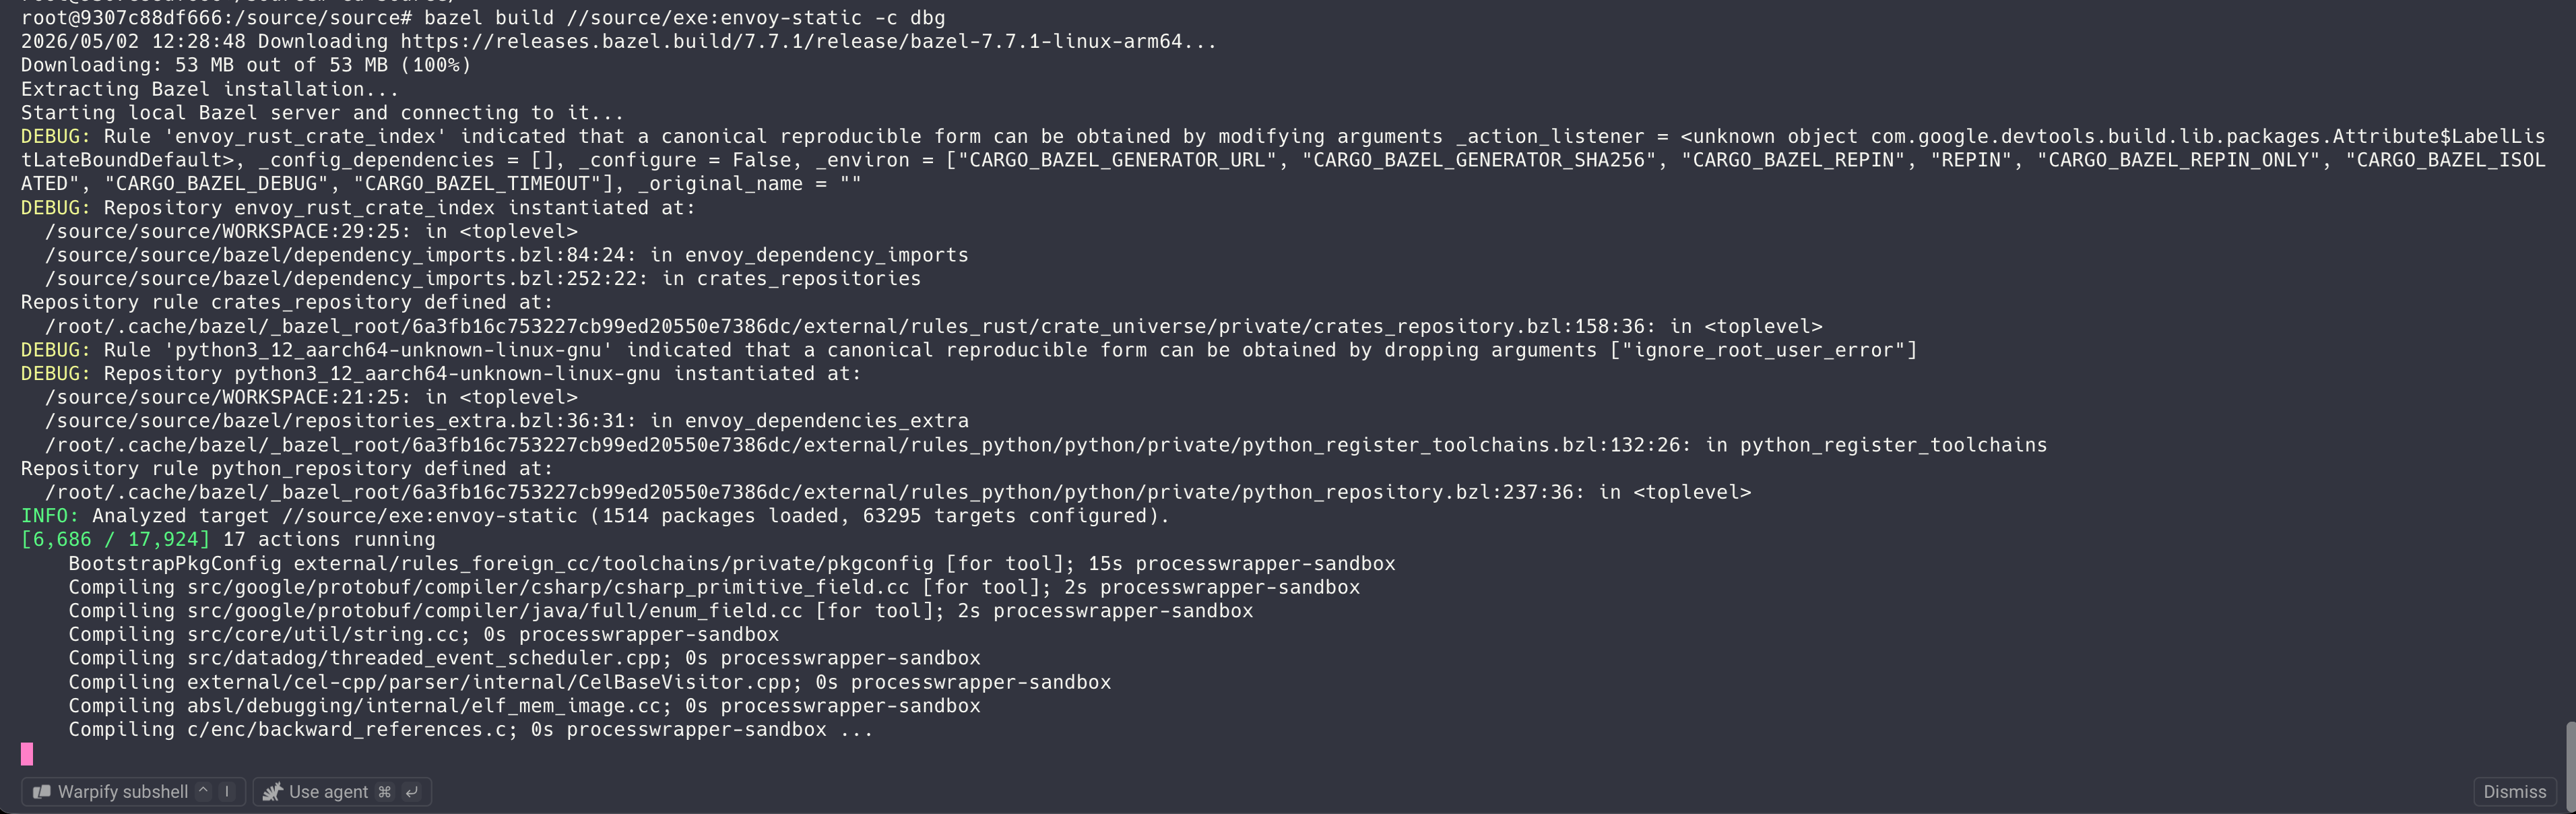
For reference, here is roughly how long the build takes on different machines:
- Mac M1 Max (32 GB RAM): about 3 hours 30 minutes
- Mac M4 Pro (48 GB RAM): about 2 hours
- Mac M5 Pro (64 GB RAM, current laptop): about 4,619 seconds
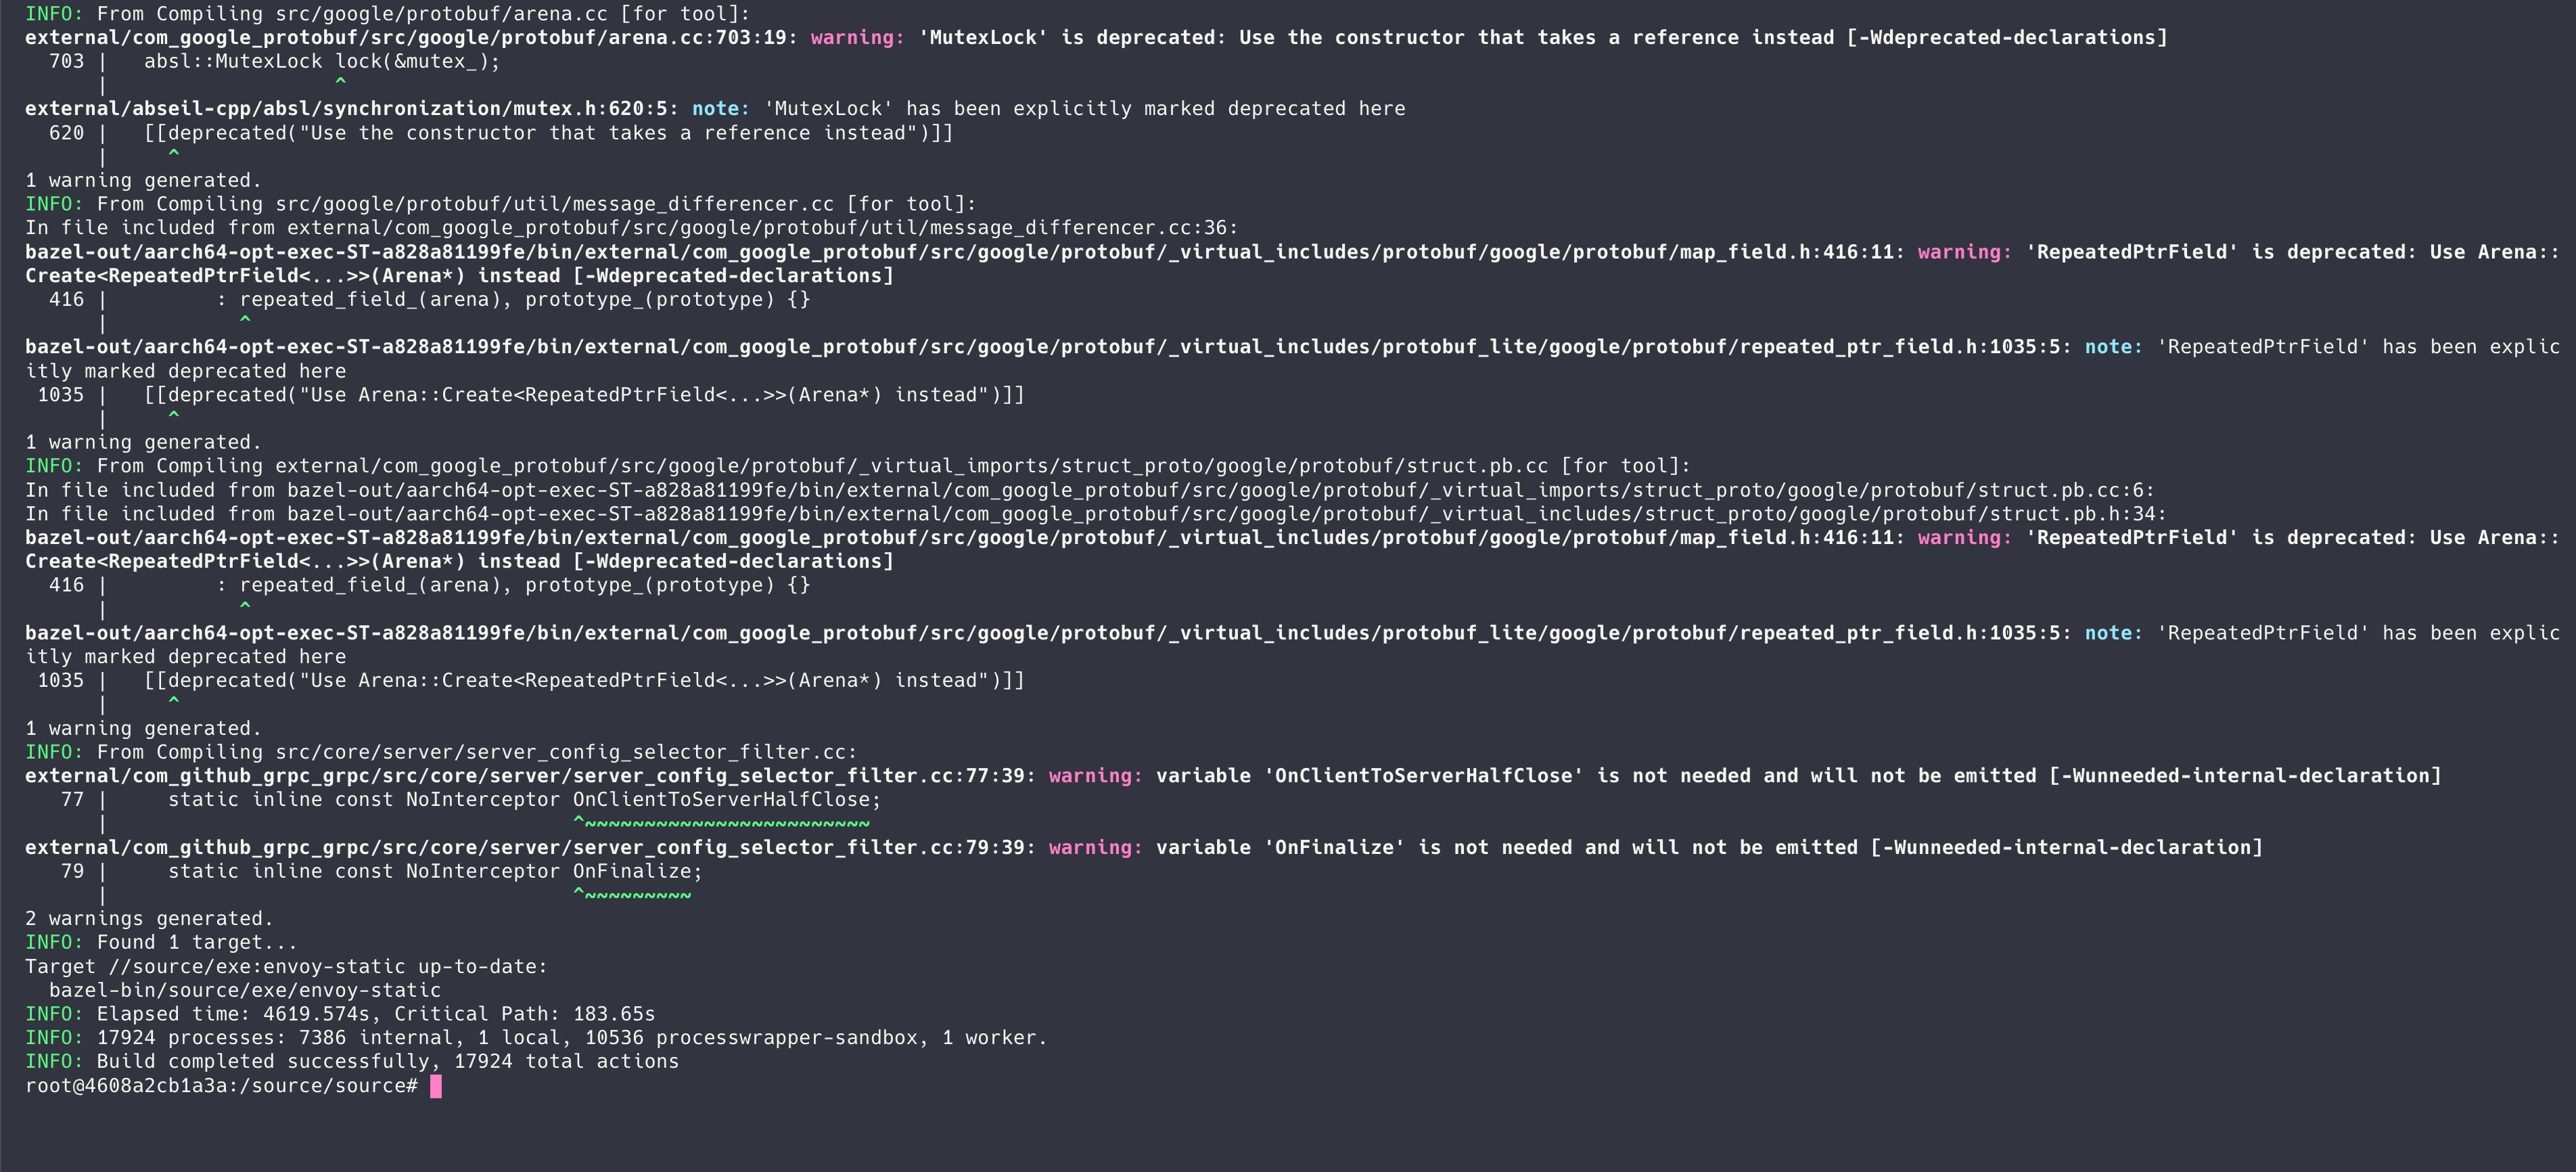
If your machine has enough resources, a single run of the command above is all you need. Honestly, though, Envoy is enormous to build, and a single-shot build will not fit into memory on most machines. When that happens, you need to throttle the resources the build is allowed to use. We already emphasized this in an earlier post — remember?
Before reading this section, please complete the Docker setup guide from Part 1 — install Docker Desktop and adjust its resource limits.
Based on my own experience, you need at least 30 GB of RAM for a stable single-shot build. There is no hard rule written down anywhere; if the build fails outright, just assume your machine cannot hold it in memory at once. In that case, the move is to limit CPU and memory explicitly via --local_resources.
The example below uses 0.4 of the host resources. The smaller you set this, the longer the build takes, so tune it to whatever your current laptop can spare. On my M1 Max, I allocated 24 GB of RAM to Docker and throttled both RAM and CPU to around 0.8.
| |
Once the build finally finishes, the Envoy Proxy binary lands at the following path inside the container:
/source/source/bazel-bin/source/exe/envoy-static
The binary is huge, as you will see from the file size.

Copy it back to the host:
| |
Bringing Up the Infrastructure
We are not going to run the binary we just built today. Instead, we will bring up Redis and Envoy separately, and swap in our locally built Envoy in the next post.
Start the Kubernetes cluster (Minikube):
| |
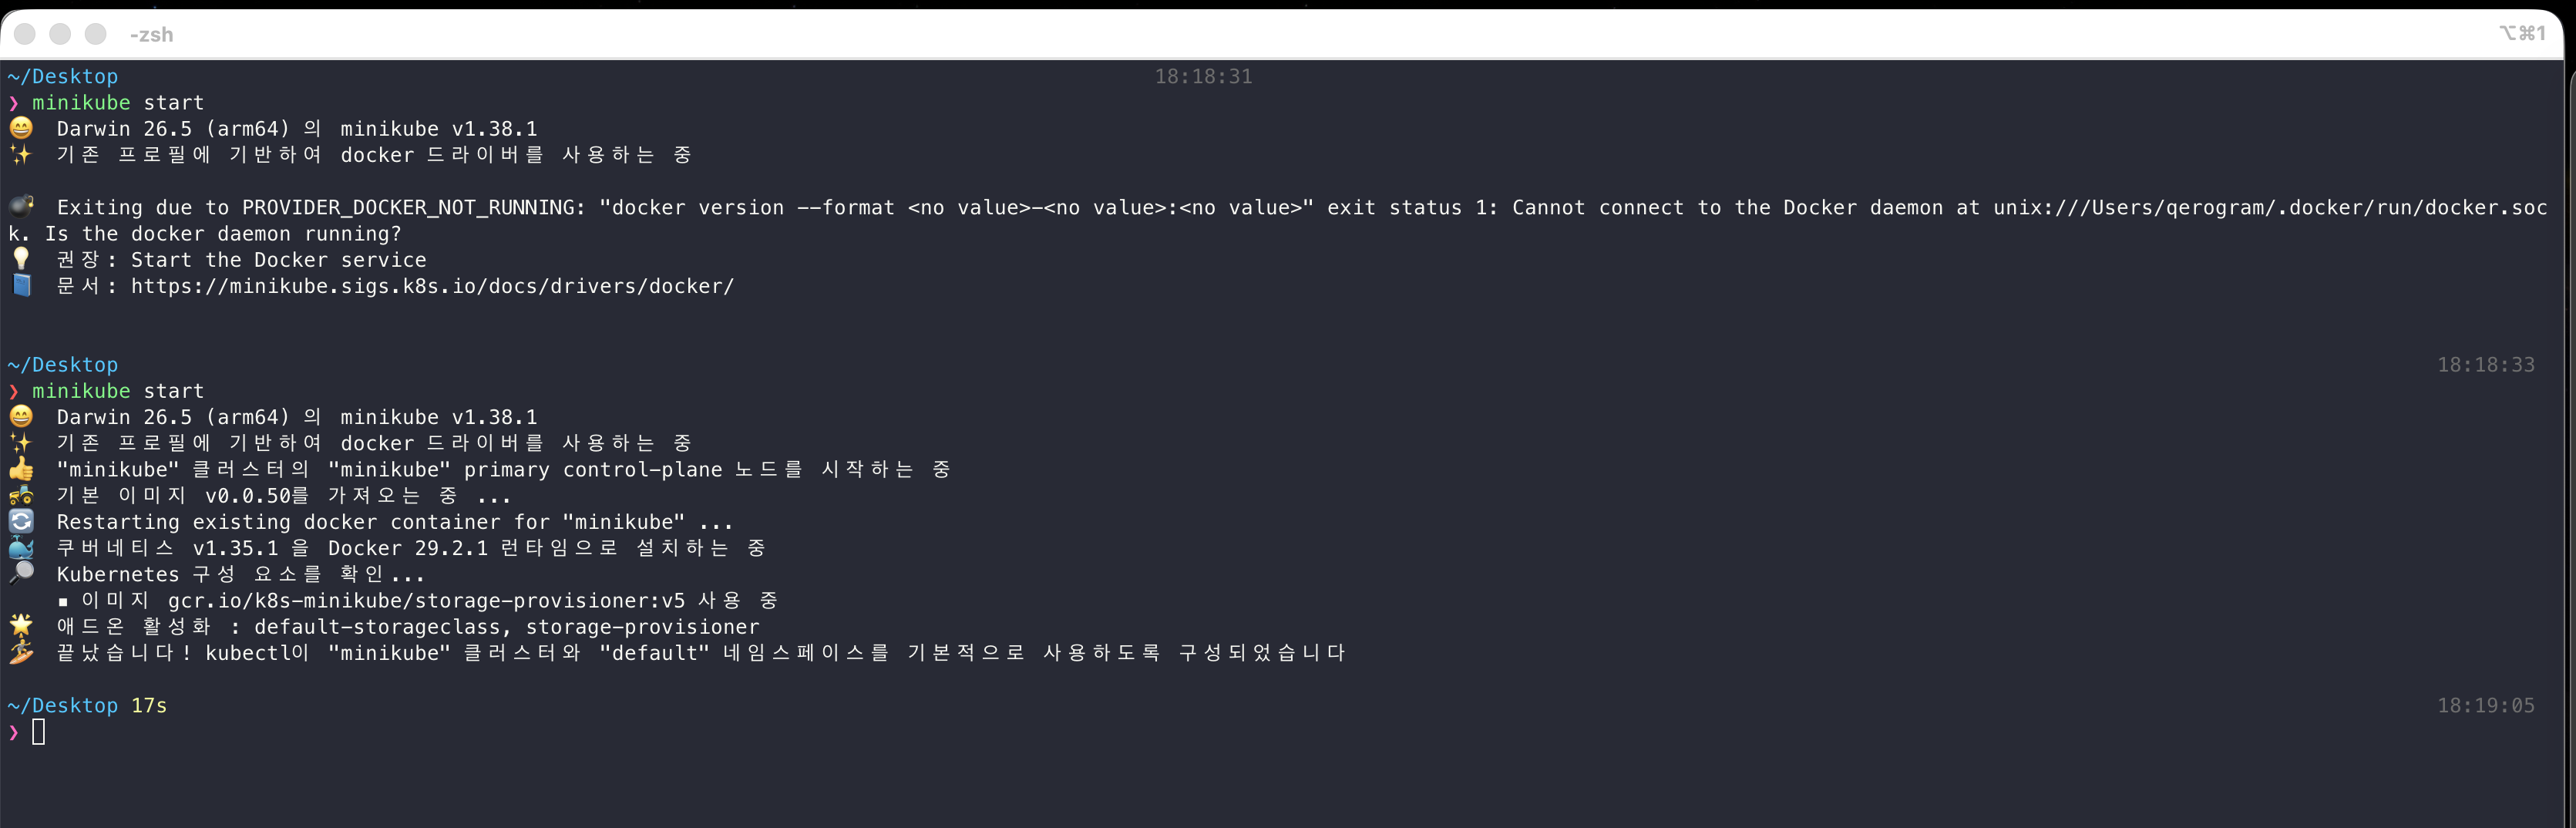
Prerequisite: Before proceeding, follow the Minikube installation guide from Part 2 and make sure both
minikubeandkubectlare installed.
After the cluster is up, open a separate terminal for Minikube control and run the command below. This is intentional: the Envoy build environment is not a container inside the cluster — it is fully isolated from the Minikube environment where the actual services (Redis, Envoy) will run. Separating the two terminals makes that distinction obvious.
| |
With the cluster ready, clone the example repo and apply the YAML files under its basic directory:
| |
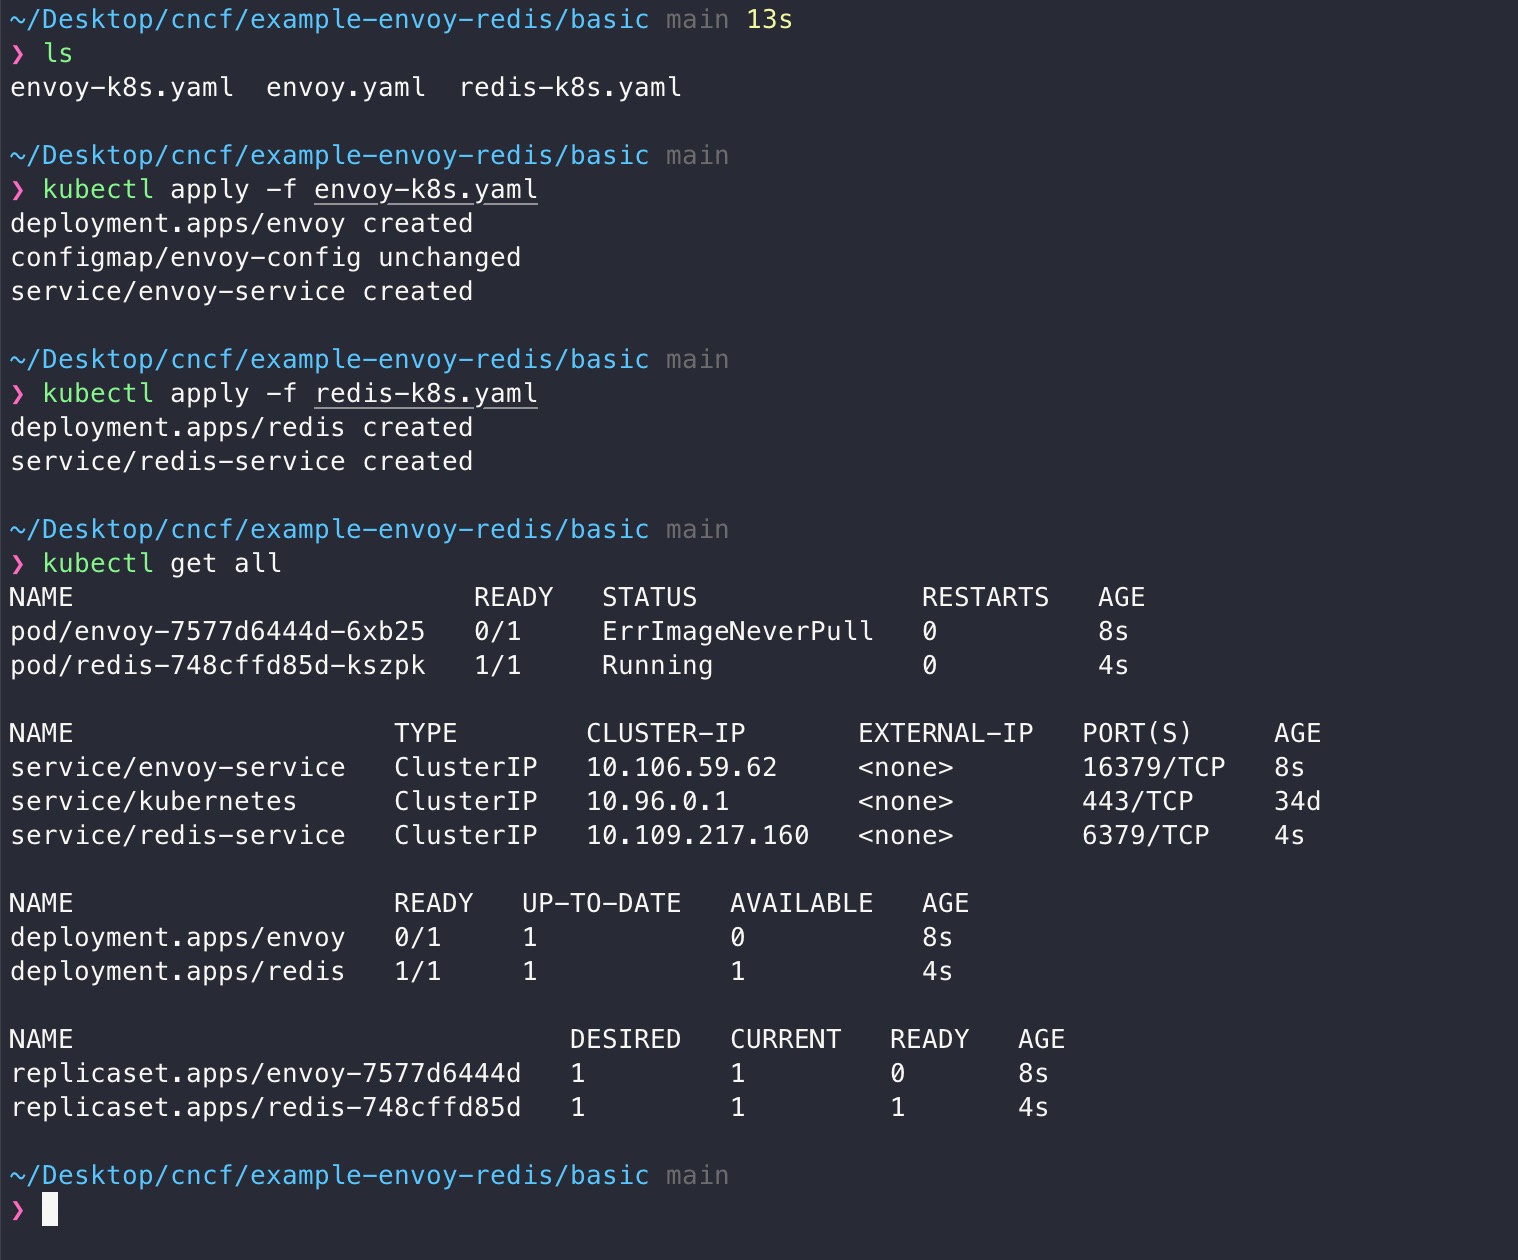
For Envoy Proxy, pull the image once so the Pod starts immediately:
| |
Testing Redis Directly
Now let’s verify everything works end to end. First, install redis-cli:
- macOS:
brew install redis - Windows: Download a release from the Microsoft Archive Redis page.
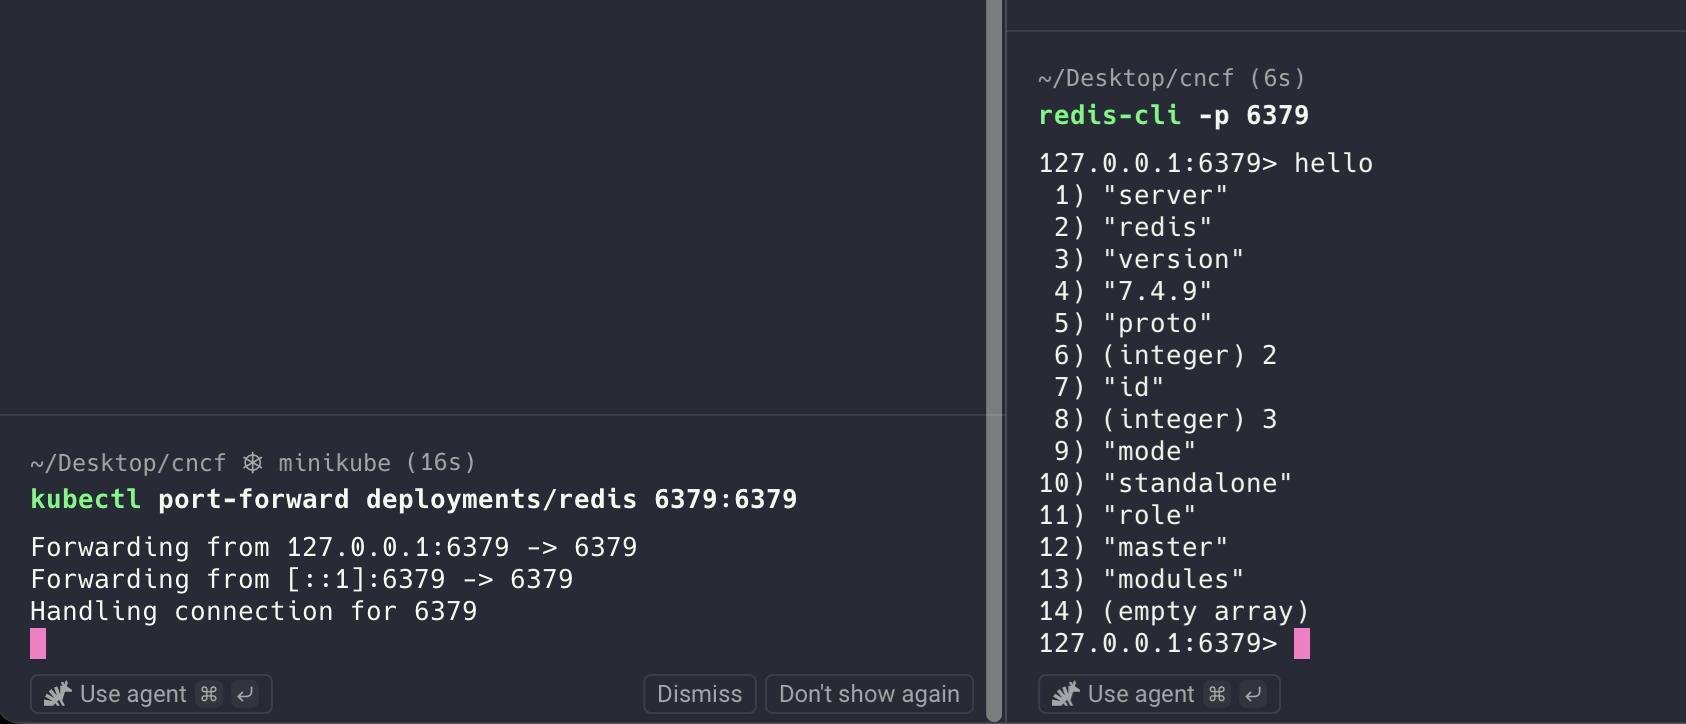
Before connecting to the Pod, we need to port-forward. In the terminal where you ran eval $(minikube docker-env), run:
| |
Open a second terminal and connect:
| |
Testing Redis Through Envoy Proxy
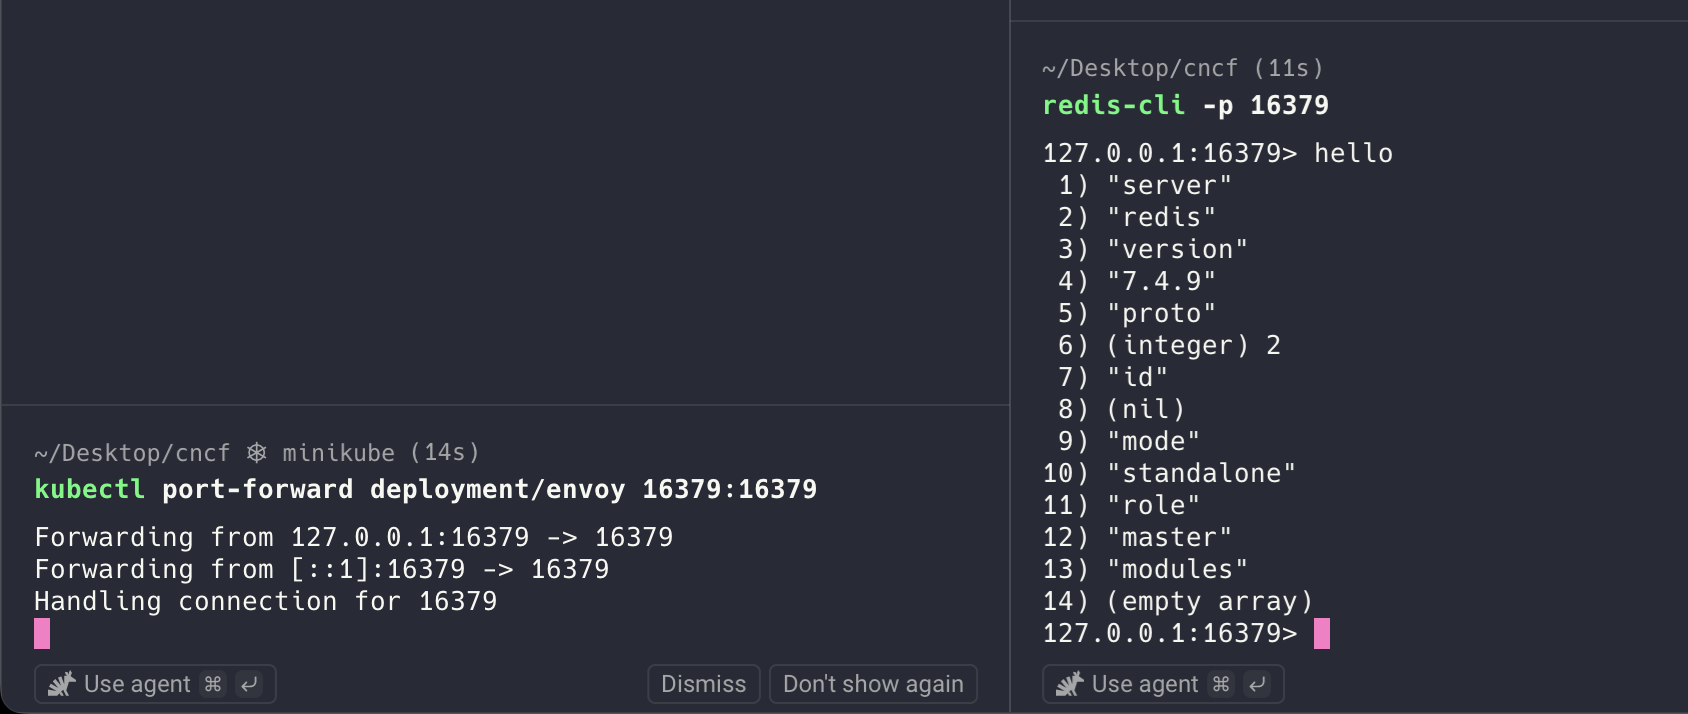
Next, let’s reach Redis through Envoy Proxy. Forward port 16379 instead:
| |
Open another terminal and connect:
| |
Wrapping Up
In this post, we built Envoy Proxy from source and brought up Redis plus Envoy on a Minikube cluster, then verified connectivity both directly and through Envoy. In the next post, we will swap in the locally built binary and run the same flow against it.
See you in the next article.