Overview
In the previous post, we brought up the Kubernetes cluster — minikube — where our modified Envoy will eventually run. With the runtime environment in place, we now turn to the other half of the equation: a working build environment.
Honestly, Envoy’s build setup was the part I struggled with the most. The official documentation covers a lot of ground at a high level, but when it comes to the practical steps on a fresh machine, I found it surprisingly thin. I went through more dead ends than I would like to admit before arriving at a workflow that is both reliable and easy to reproduce. This post shares that workflow so you can skip the parts I stumbled on.
Pulling the Envoy Build Image
Prerequisite: Before reading this section, please complete the Docker setup guide from Part 1 — install Docker Desktop and adjust its resource limits. The Envoy build image is large, and an under-resourced Docker daemon will make the build either painfully slow or fail outright.
We will run the entire Envoy build inside a Docker container. The build image itself is published to Docker Hub by the Envoy maintainers, and — this is the part I wish I had known earlier — there is no need to spin up Ubuntu or another Linux environment yourself. The official image is the canonical way to build Envoy, and going off-script almost always leads to missing-toolchain pain.
To find the right image:
- Open the envoyproxy/envoy-build-ubuntu tags page on Docker Hub.
- Select the most recent tag whose name starts with the
full-prefix. Thefull-variants ship every toolchain component required for a complete Envoy build.
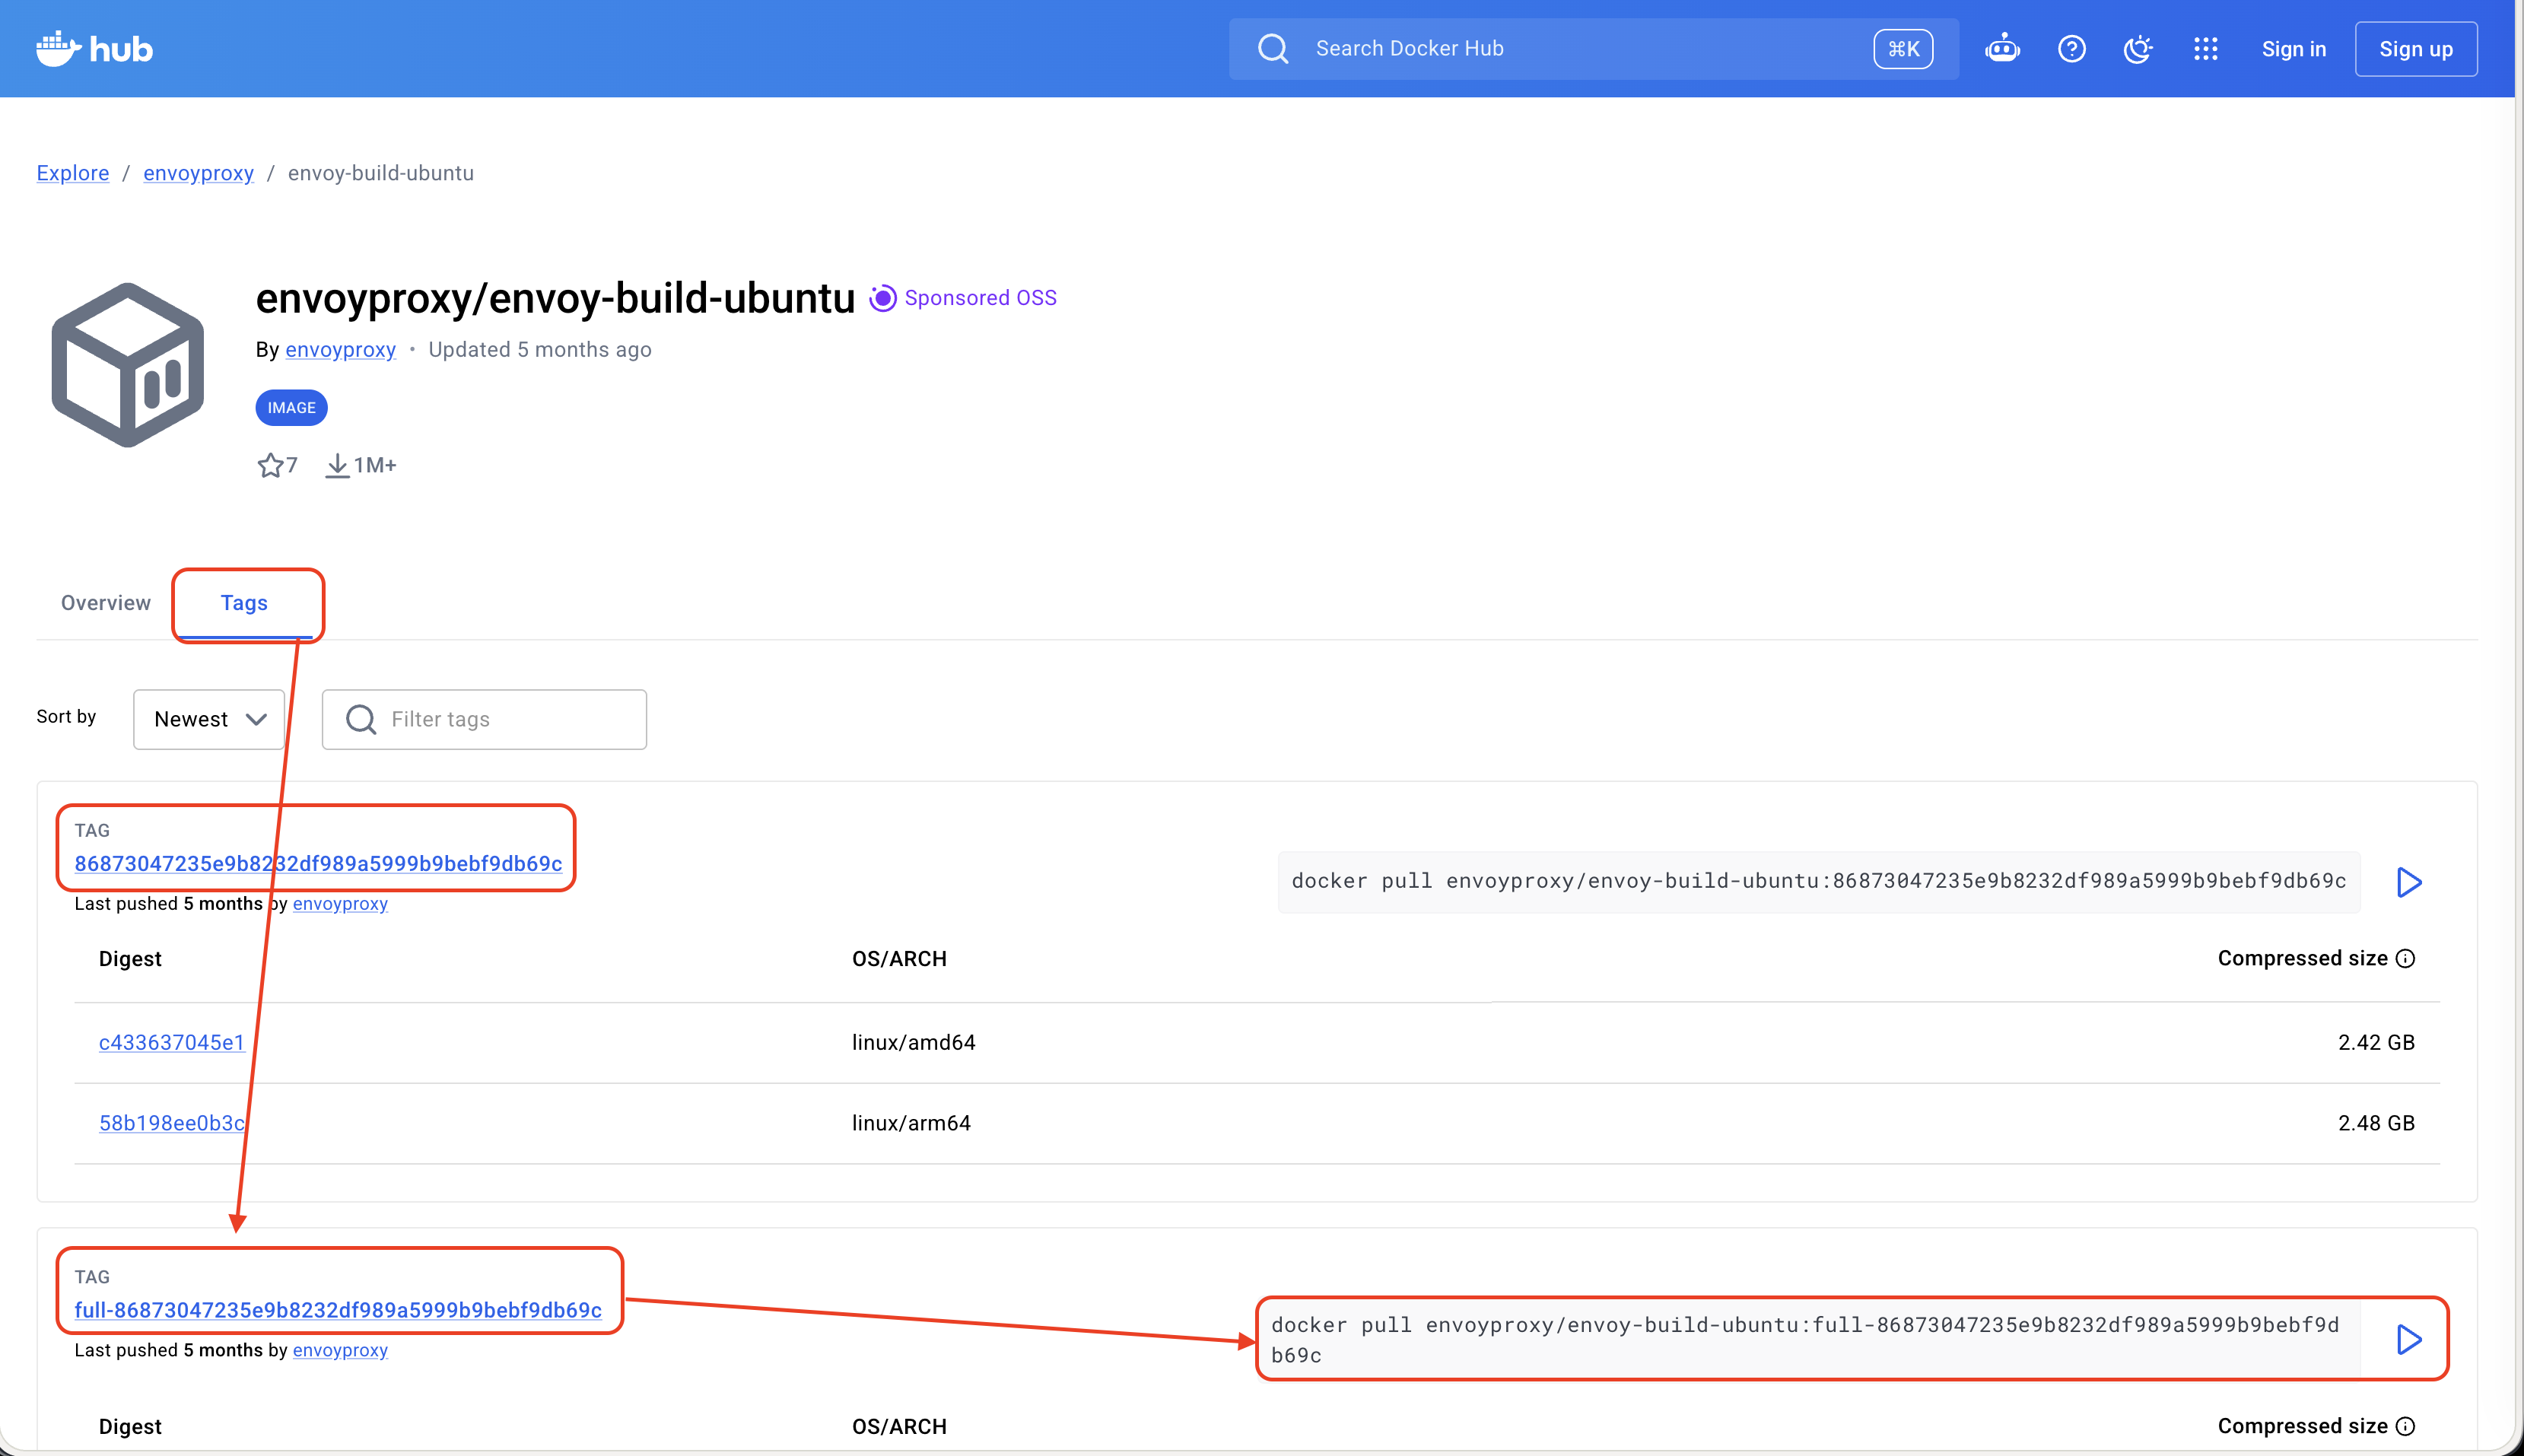
As of writing, the latest tag is:
envoyproxy/envoy-build-ubuntu:full-86873047235e9b8232df989a5999b9bebf9db69c
Pull it before proceeding:
| |
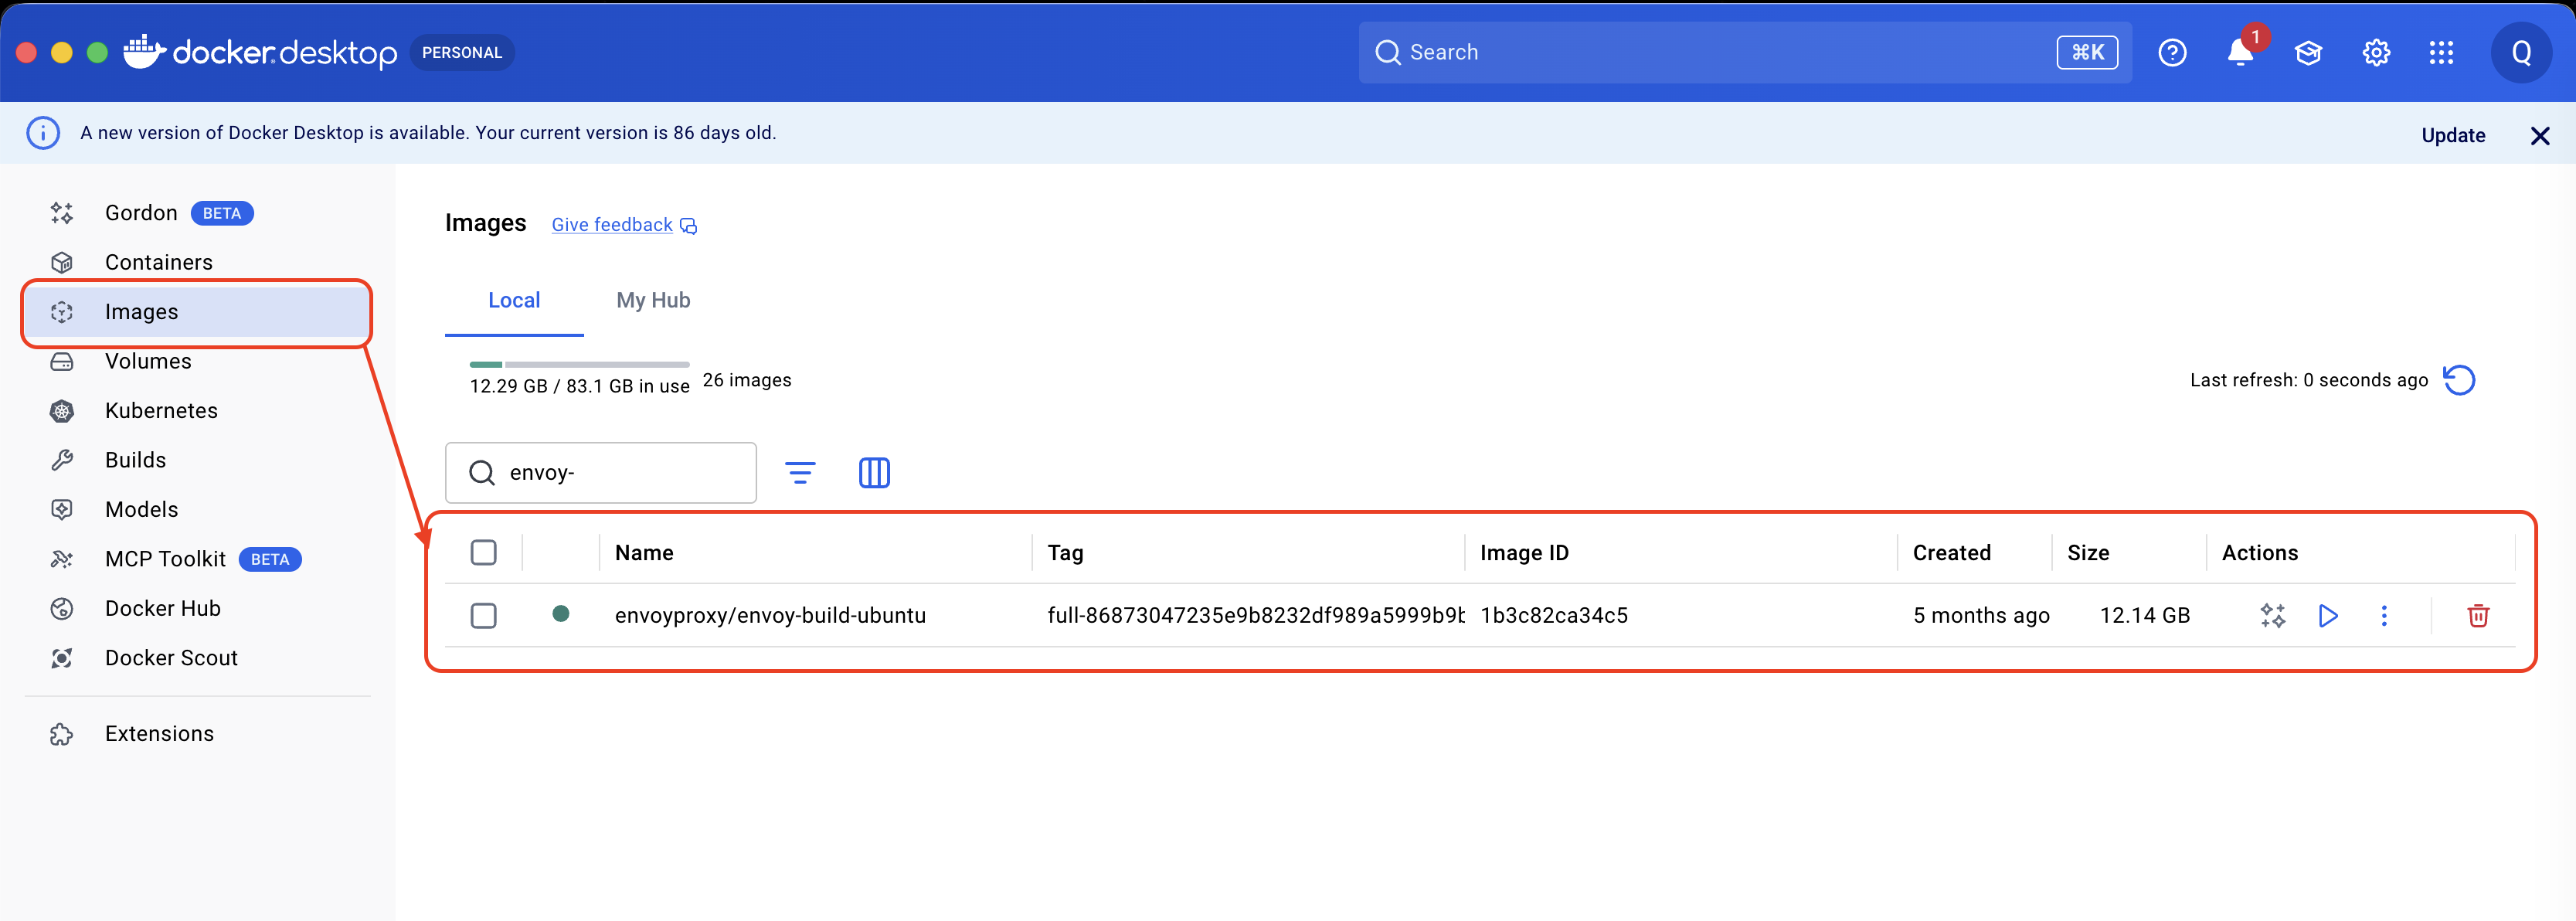
Once the pull completes, you can verify the image from the Images tab in Docker Desktop.
Note: The image is approximately 12 GB. Make sure you have enough disk space and that Docker Desktop’s disk limit is set high enough (at least 200 GiB, as recommended in the previous post). A failed mid-build disk-out-of-space error is one of those problems that is easy to avoid and very annoying to recover from.
Running the Build Container
Before launching the container, make sure you have a fresh copy of the Envoy source tree on your host machine.
If you have been following this series week by week, your local clone is almost certainly behind main. Pull the latest changes first:
| |
Prerequisite: If you have not yet cloned the repository, follow the GitHub setup and cloning guide from Part 1, then return here.
The build container expects the source tree to be mounted at /source — and historically, the path inside the container is literally /source. The Envoy tooling (Bazel workspaces, generated files, etc.) is hard-coded against this layout, so it is worth keeping the convention. A common way to make this work cleanly is to rename the cloned directory to source:
| |
Then launch the container from the parent directory (the one that now contains source/). The -v flag mounts your host directory into the container, and -w /source sets it as the working directory inside:
| |
Note: The
--rmflag is intentionally not used here. Container IDs are stable identifiers — you’ll want this container to persist across sessions so you can reattach to it later. If you do add--rm, the container is destroyed as soon as it exits, which makes the next step inconvenient.
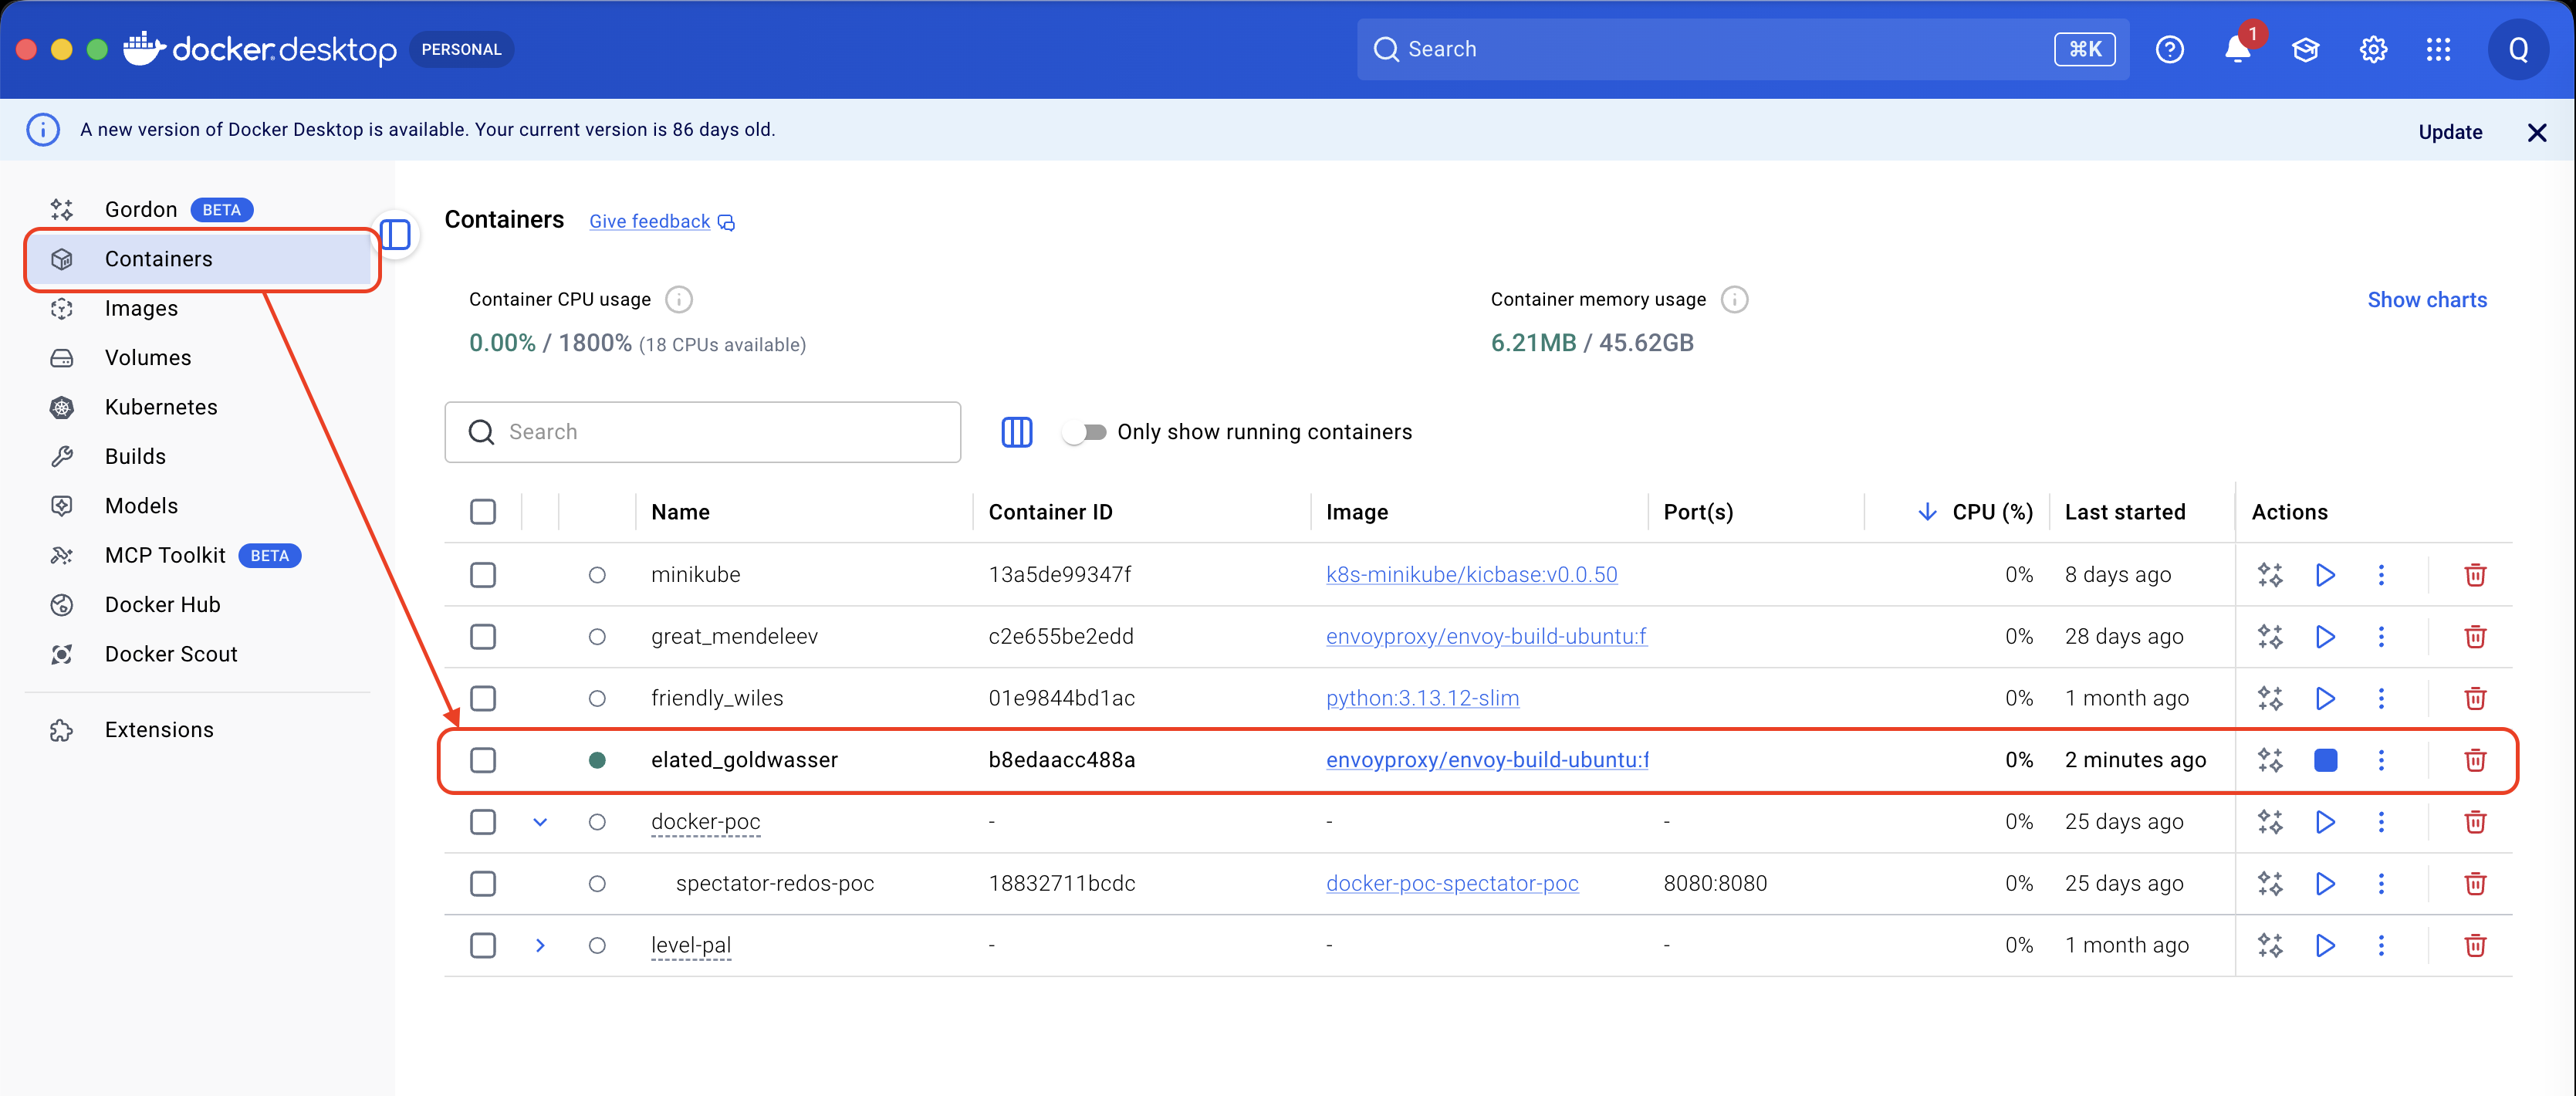
After the command runs, Docker prints a long hex string — the Container ID:
b8edaacc488a91072db4559673819dad785795ba3dd9dc5f47ee5c848454abd2
In Docker, almost everything is keyed off this ID: copying files in and out, starting, pausing, or removing the container. To get an interactive shell inside the running container, use docker exec:
| |
After running the command, your prompt changes to indicate you are now inside the container:
~/Desktop/cncf                                                         11:43:00
❯ docker run -itd -v $(pwd):/source -w /source  envoyproxy/envoy-build-ubuntu:full-86873047235e9b8232df989a5999b9bebf9db69c
b8edaacc488a91072db4559673819dad785795ba3dd9dc5f47ee5c848454abd2

~/Desktop/cncf                                                                                                                    11:43:08
❯ docker exec -it b8edaacc488a91072db4559673819dad785795ba3dd9dc5f47ee5c848454abd2 /bin/bash
root@b8edaacc488a91072db4559673819dad785795ba3dd9dc5f47ee5c848454abd2:/source# id
uid=0(root) gid=0(root) groups=0(root)
A few things worth noting from the output above:
- The prompt prefix changed from your host’s path to
root@b8edaacc…:/source#, confirming you are inside the container. idreportsuid=0(root)— the build image runs as root by default, which sidesteps a whole class of permission issues when generating files into the mounted volume.
Wrapping Up
With the build container up and your shell attached, the build environment is finally ready. In the next post, we will run the actual Envoy build inside this container and produce our first custom Envoy binary.
See you in the next article.