Overview
This post walks through bringing up a local Kubernetes cluster. Managed offerings such as EKS, GKE, and AKS are the obvious choice for production workloads, but the recurring cost makes them impractical for everyday experimentation. As a more economical alternative, we will stand up a single-node cluster on a personal machine — a setup that is more than sufficient for the kind of iteration we need.
Once the cluster is up, we will install the two tools you will reach for most often: kubectl, the official command-line client, and k9s, a terminal UI that turns routine cluster operations into a far more pleasant experience.
Installing Minikube
We will start with Minikube. The official installation instructions are kept current on the Minikube SIG site — pick the path that matches your platform. For a guided walkthrough, the Kubernetes project also publishes a beginner-friendly Hello Minikube tutorial that is worth bookmarking.
I am on Apple Silicon, so I went with Homebrew — by far the lowest-friction option on macOS. The relevant instructions are shown below.
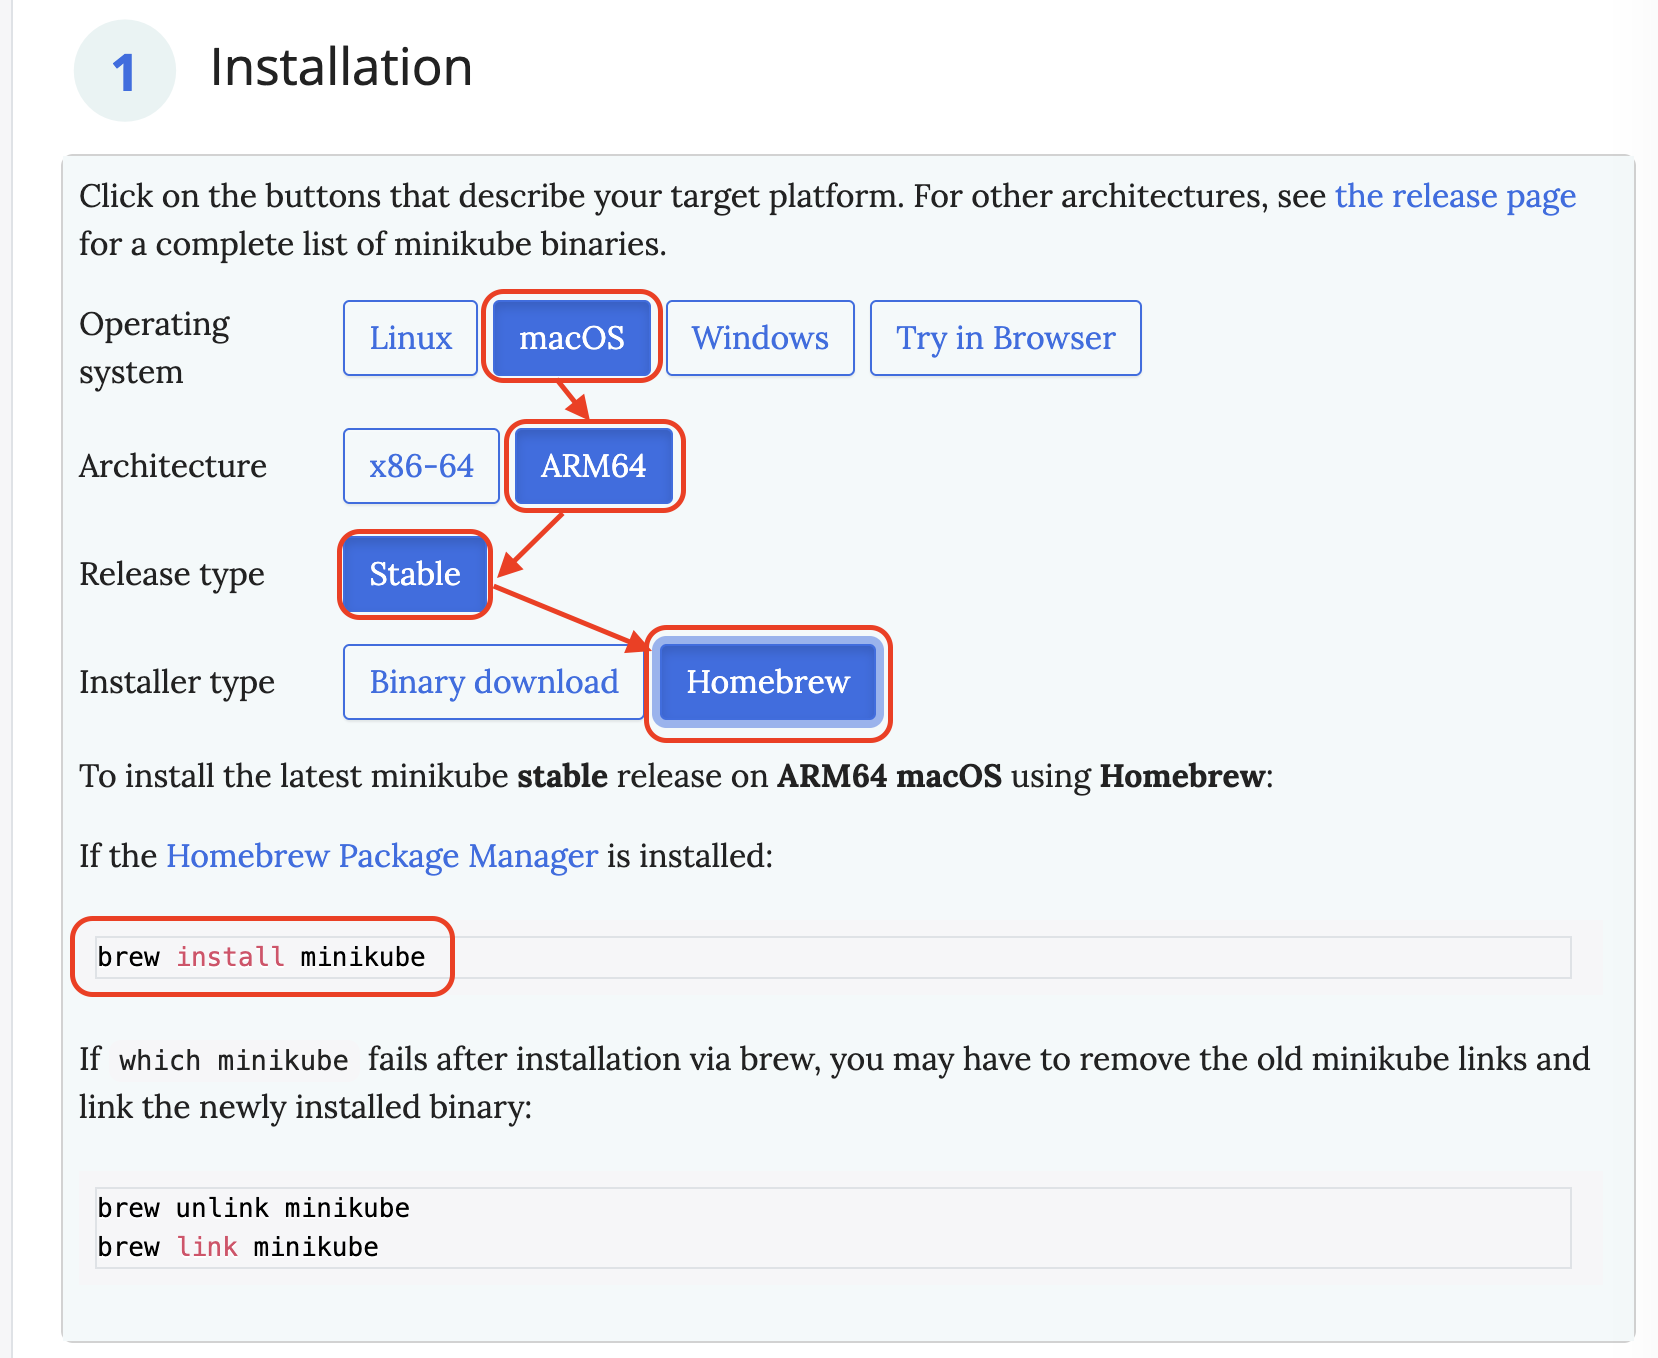
In short, installation reduces to a single command:
| |
Bringing Up the Cluster
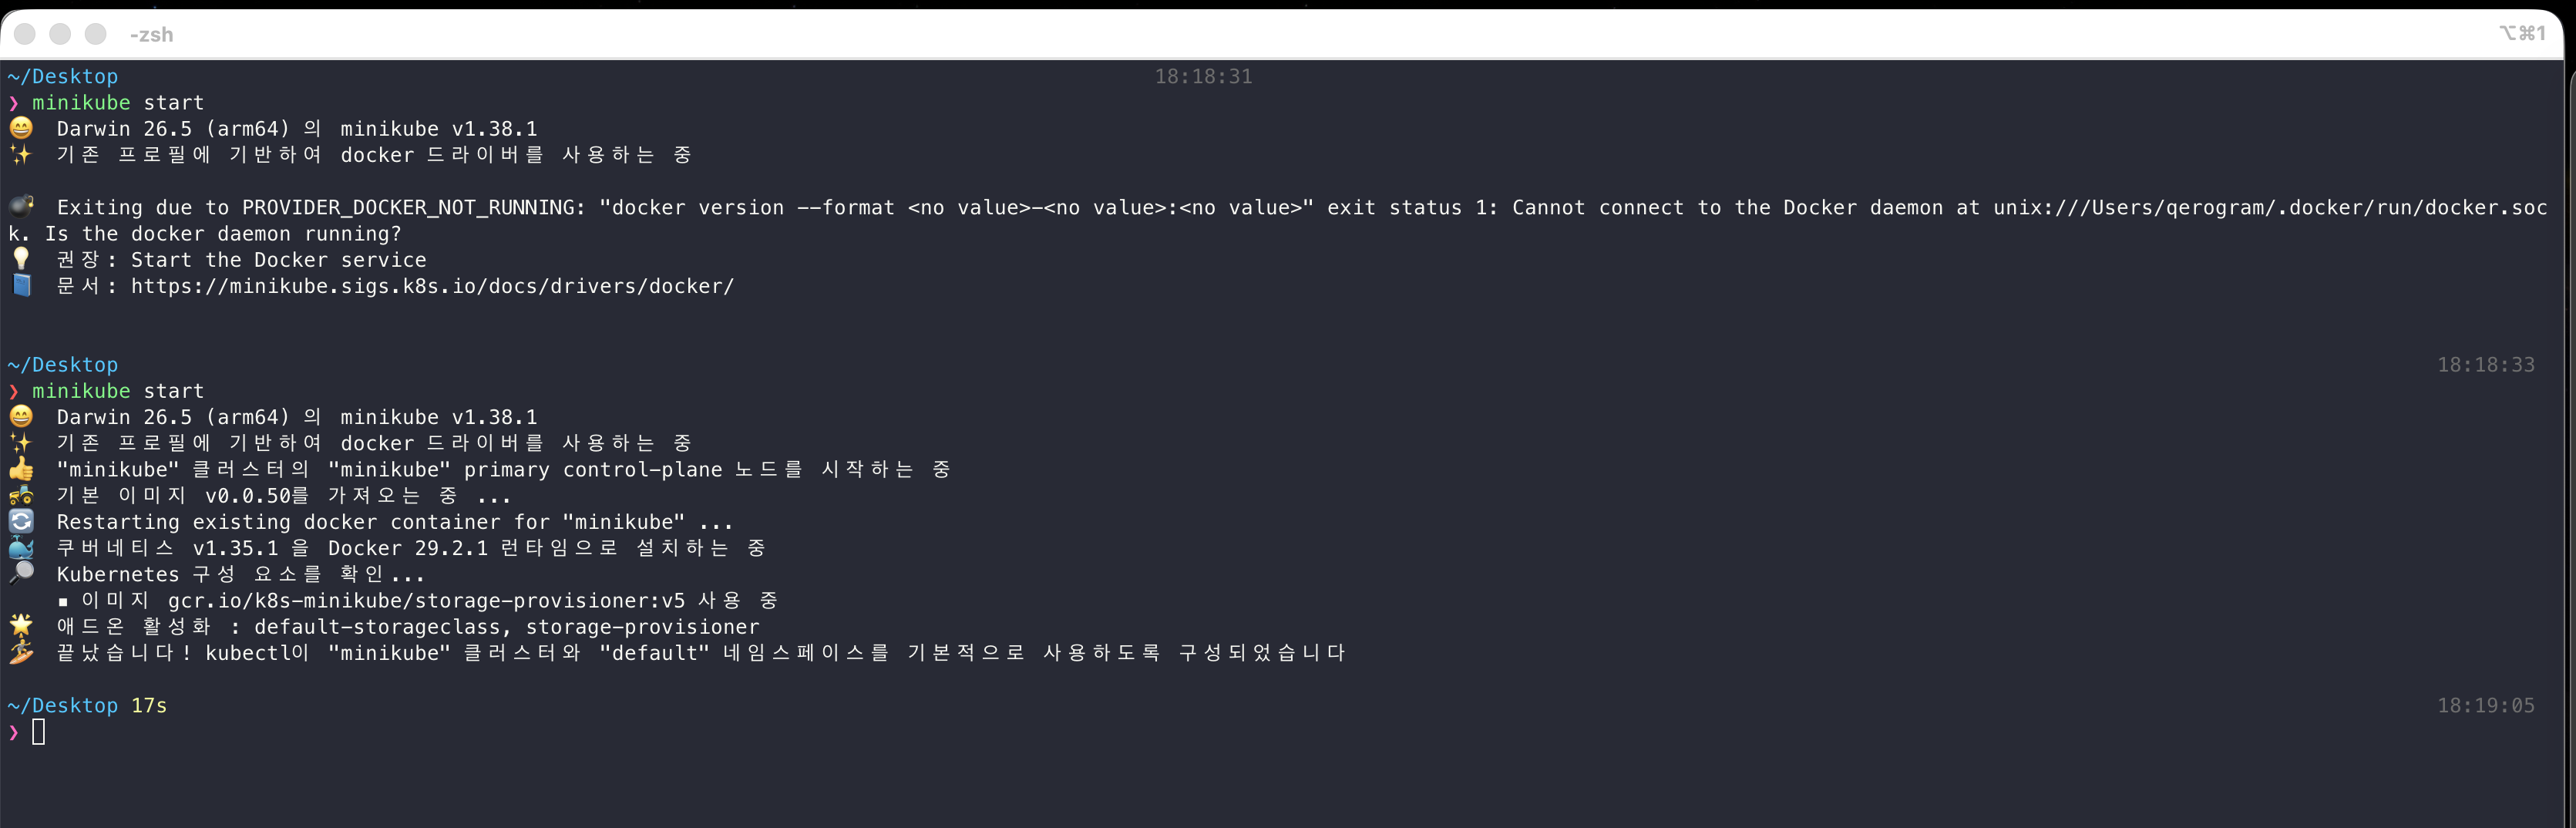
With Minikube installed, the following command provisions a local Kubernetes cluster:
| |
For this to succeed, Docker must be running on your machine — it is Minikube’s default container runtime, and the command above delegates all container provisioning to it.
If Docker is unavailable, or you simply prefer not to use it, Minikube also supports alternative drivers such as Podman and Rancher Desktop. The full list of supported drivers is documented in the Minikube driver reference. To select one explicitly, pass it via --driver. For example, to use Podman:
| |
Operating the Cluster
kubectl is the standard client for interacting with a Kubernetes API server. Official installation guides for Linux, macOS, and Windows are available in the Kubernetes documentation:
For day-to-day usage, the reference below is the canonical resource:
Once everything is in place, verify the connection by listing resources in the default namespace:
| |
Note: The output above reflects my own cluster, which still holds the
envoyandredisworkloads from earlier experiments. On a fresh setup, the only entry you should expect to see isservice/kubernetes— if that line is present, your cluster is healthy and you are good to go.
Wrapping Up
With Minikube and kubectl in place, the foundation for our local test environment is ready. In the next post, we will pull the Envoy build image from Docker Hub and run our first build inside a container.
See you in the next article.