Introduction
As we begin this series, you’re likely already familiar with how remarkable Envoy Proxy is. It serves as a de facto standard proxy even in Istio environments and stands as one of the most mature and production-ready proxies available today. Envoy is the third CNCF project to achieve Graduated status.
What is Envoy Made Of?
At its core, Envoy is a proxy. It is built using Bazel as its build system and is written entirely in C++.
Note: For developers whose primary experience is with high-level languages, working with a large-scale C++ project like Envoy can present a significant learning curve. Even with moderate C++ experience and some familiarity with C through reverse engineering, the lack of comprehensive documentation required extensive hands-on experimentation. I hope the practical insights shared throughout this series will help others — whether human contributors or AI agents — navigate the contribution process more effectively.
Prerequisites
Our goal is to build Envoy inside containers and ultimately deploy it to Kubernetes. To ensure this process is accessible to everyone without requiring expensive infrastructure, we will use minikube to run a local Kubernetes cluster.
Here’s what you’ll need to prepare:
- GitHub — A GitHub account with either GitHub Desktop, git-scm, or the GitHub CLI installed for source code management.
- VS Code — The primary editor we’ll use for exploring and modifying the Envoy codebase.
- Docker — All builds will be performed inside Docker containers.
- minikube — A local Kubernetes environment (setup covered in the next post).
Project Background
The project that ultimately led me to contribute to Envoy looked like this:
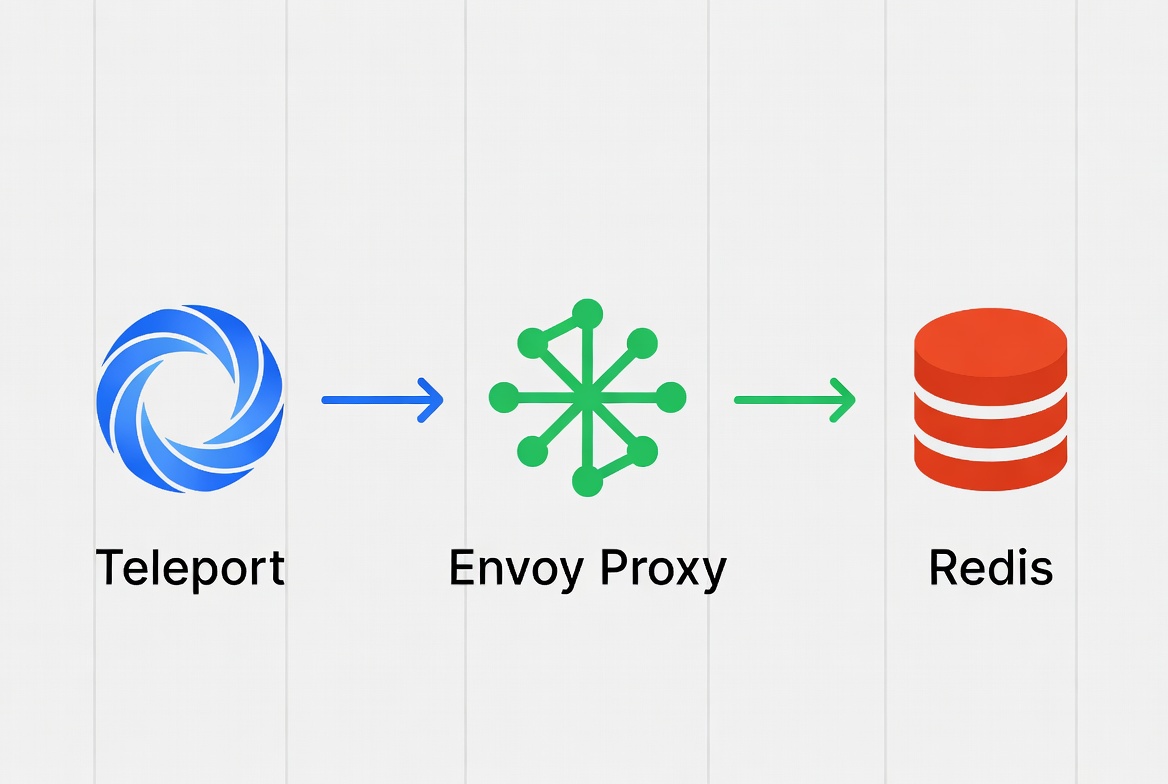
The critical gap was that the integration between Envoy Proxy and Redis was incomplete. This limitation became the direct motivation for my contribution.
In this series, we will focus specifically on the Envoy Proxy → Redis path:
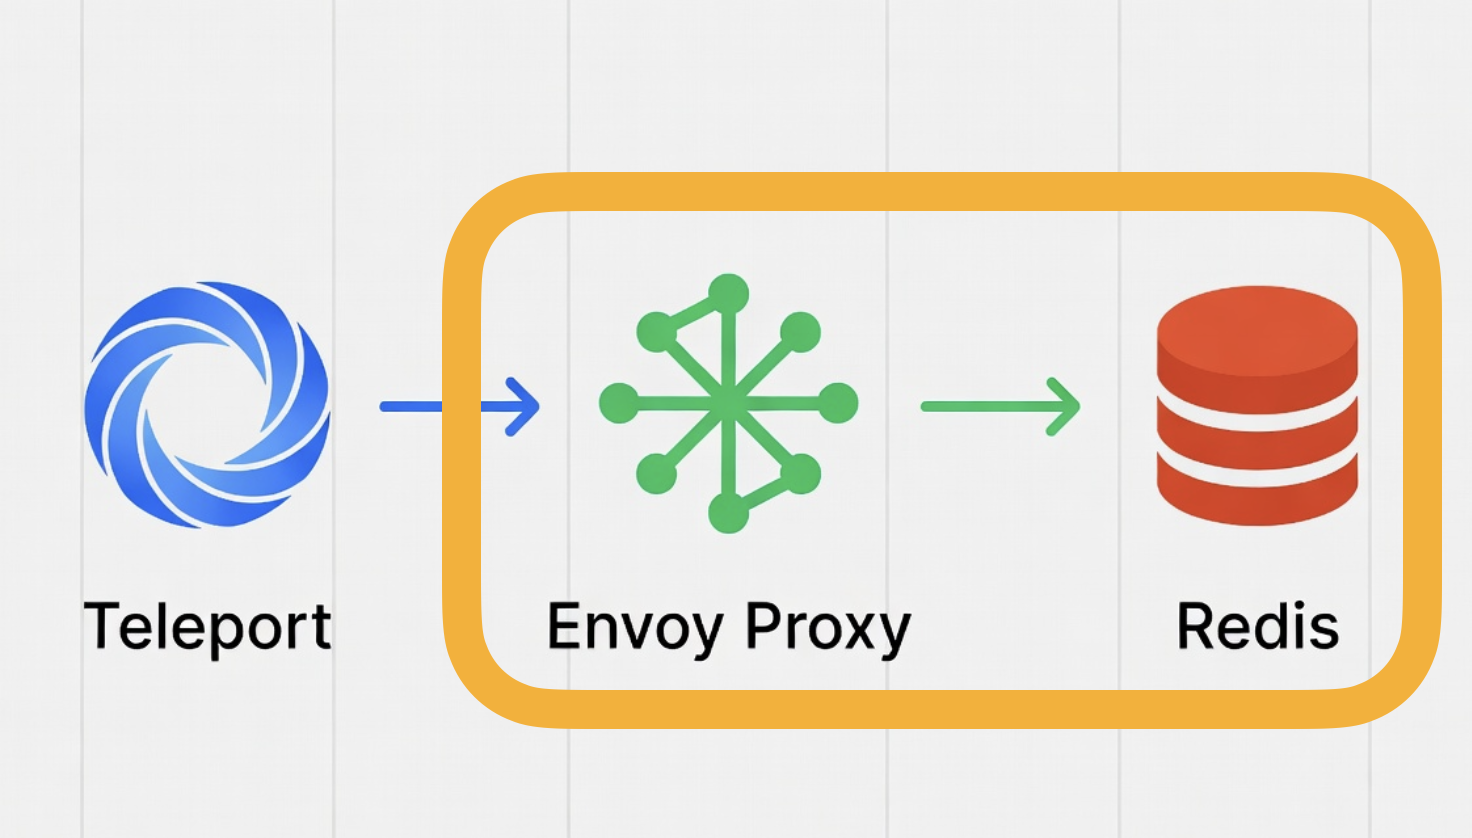
Our primary focus will be on the Redis Filter.
1. GitHub Configuration
1. Create a GitHub Account
Visit https://github.com and sign up for an account.
2. Install Git Client Software
Install one of the following tools:
3. Configure SSH Keys
To authenticate with GitHub using your account credentials, you need to register an SSH key.
While the following reference is in Korean, it provides clear instructions: https://www.postype.com/@cpuu/post/10570269
- GitHub allows you to register the machines authorized to use your account.
- Go to https://github.com/settings/profile, then navigate to SSH and GPG Keys.
- Generate a new key using the following command (use Terminal on macOS/Linux or PowerShell on Windows):
| |
- Copy the contents of
~/.ssh/id_ed25519.pub(the line starting withssh-ed25519) and add it to GitHub under SSH and GPG Keys. - If permission issues occur, adjust the file permissions:
| |
4. Clone the Envoy Repository
Once your SSH key is configured, clone the official repository:
- Navigate to https://github.com/envoyproxy/envoy
- Click the green Code button and select SSH
- Copy the clone URL
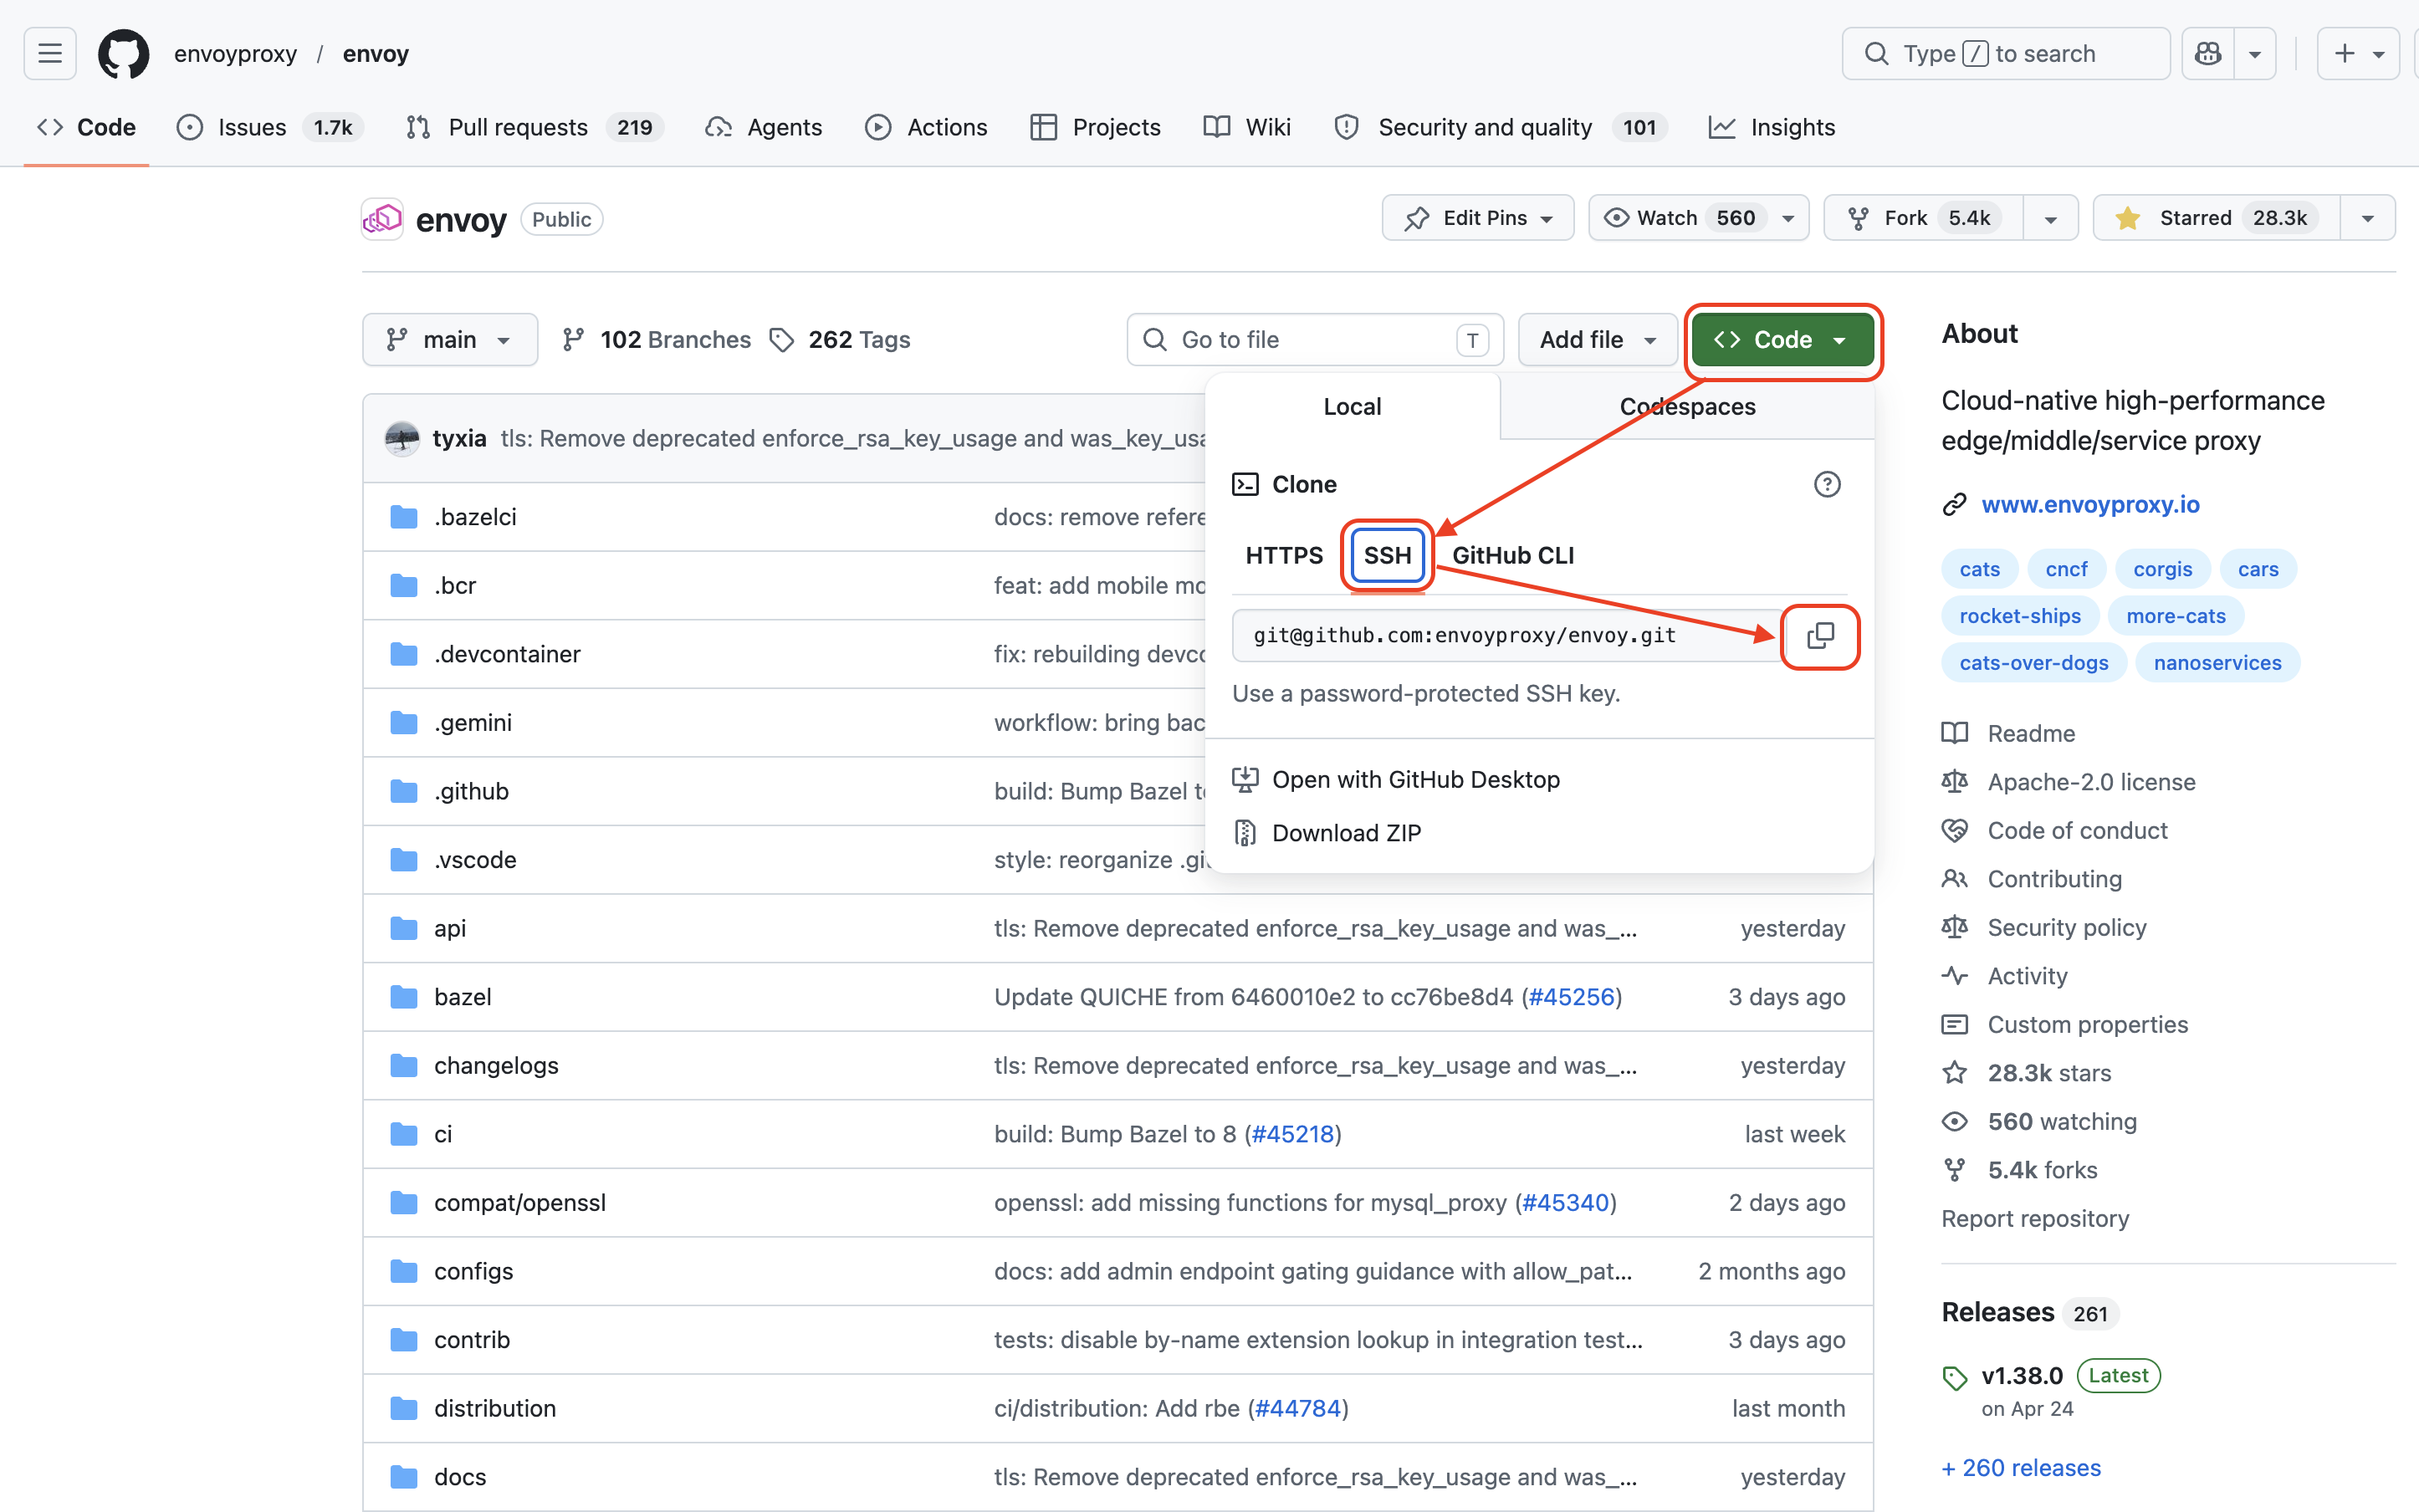
Then run:
| |
2. Visual Studio Code
Download and install VS Code.
Open the Extensions panel and install the following extensions:
- Docker
- Dev Containers (or Remote - Containers)
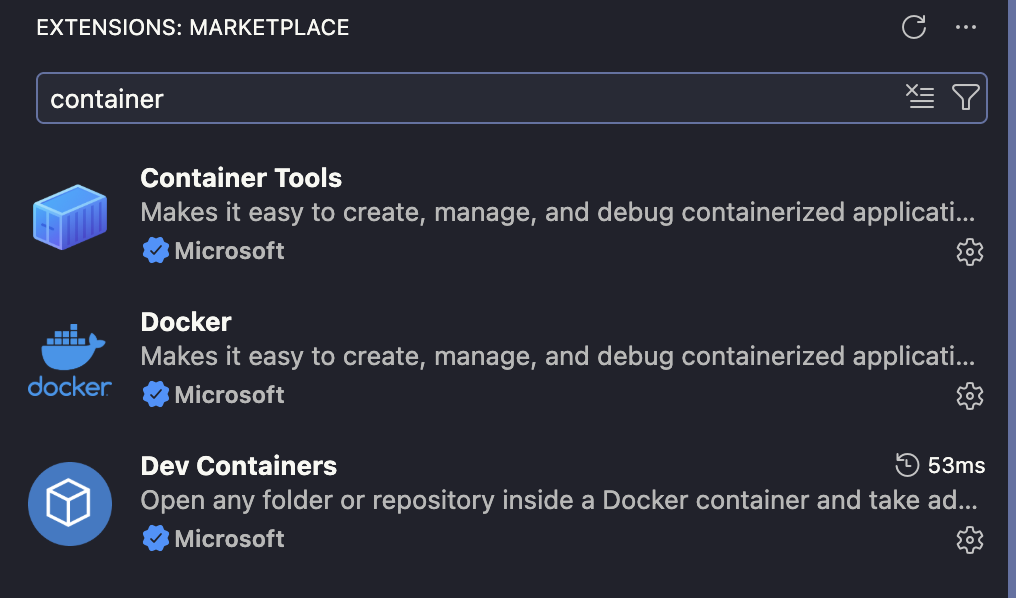
These extensions will be essential for working with Envoy’s container-based development workflow.
3. Docker
While many container runtimes exist, I recommend Docker Desktop for its ease of use.
Download it from the official site: Docker Desktop
(Docker CE is perfectly fine if you prefer a lightweight setup, but Docker Desktop offers the most convenient experience for most developers.)
Allocate sufficient resources before building.
Envoy is a large project. Insufficient resources will result in extremely long build times. On an M5 Pro MacBook, allocating 48GB of memory and at least 200GiB of disk space allows builds to proceed without constant resource tuning.
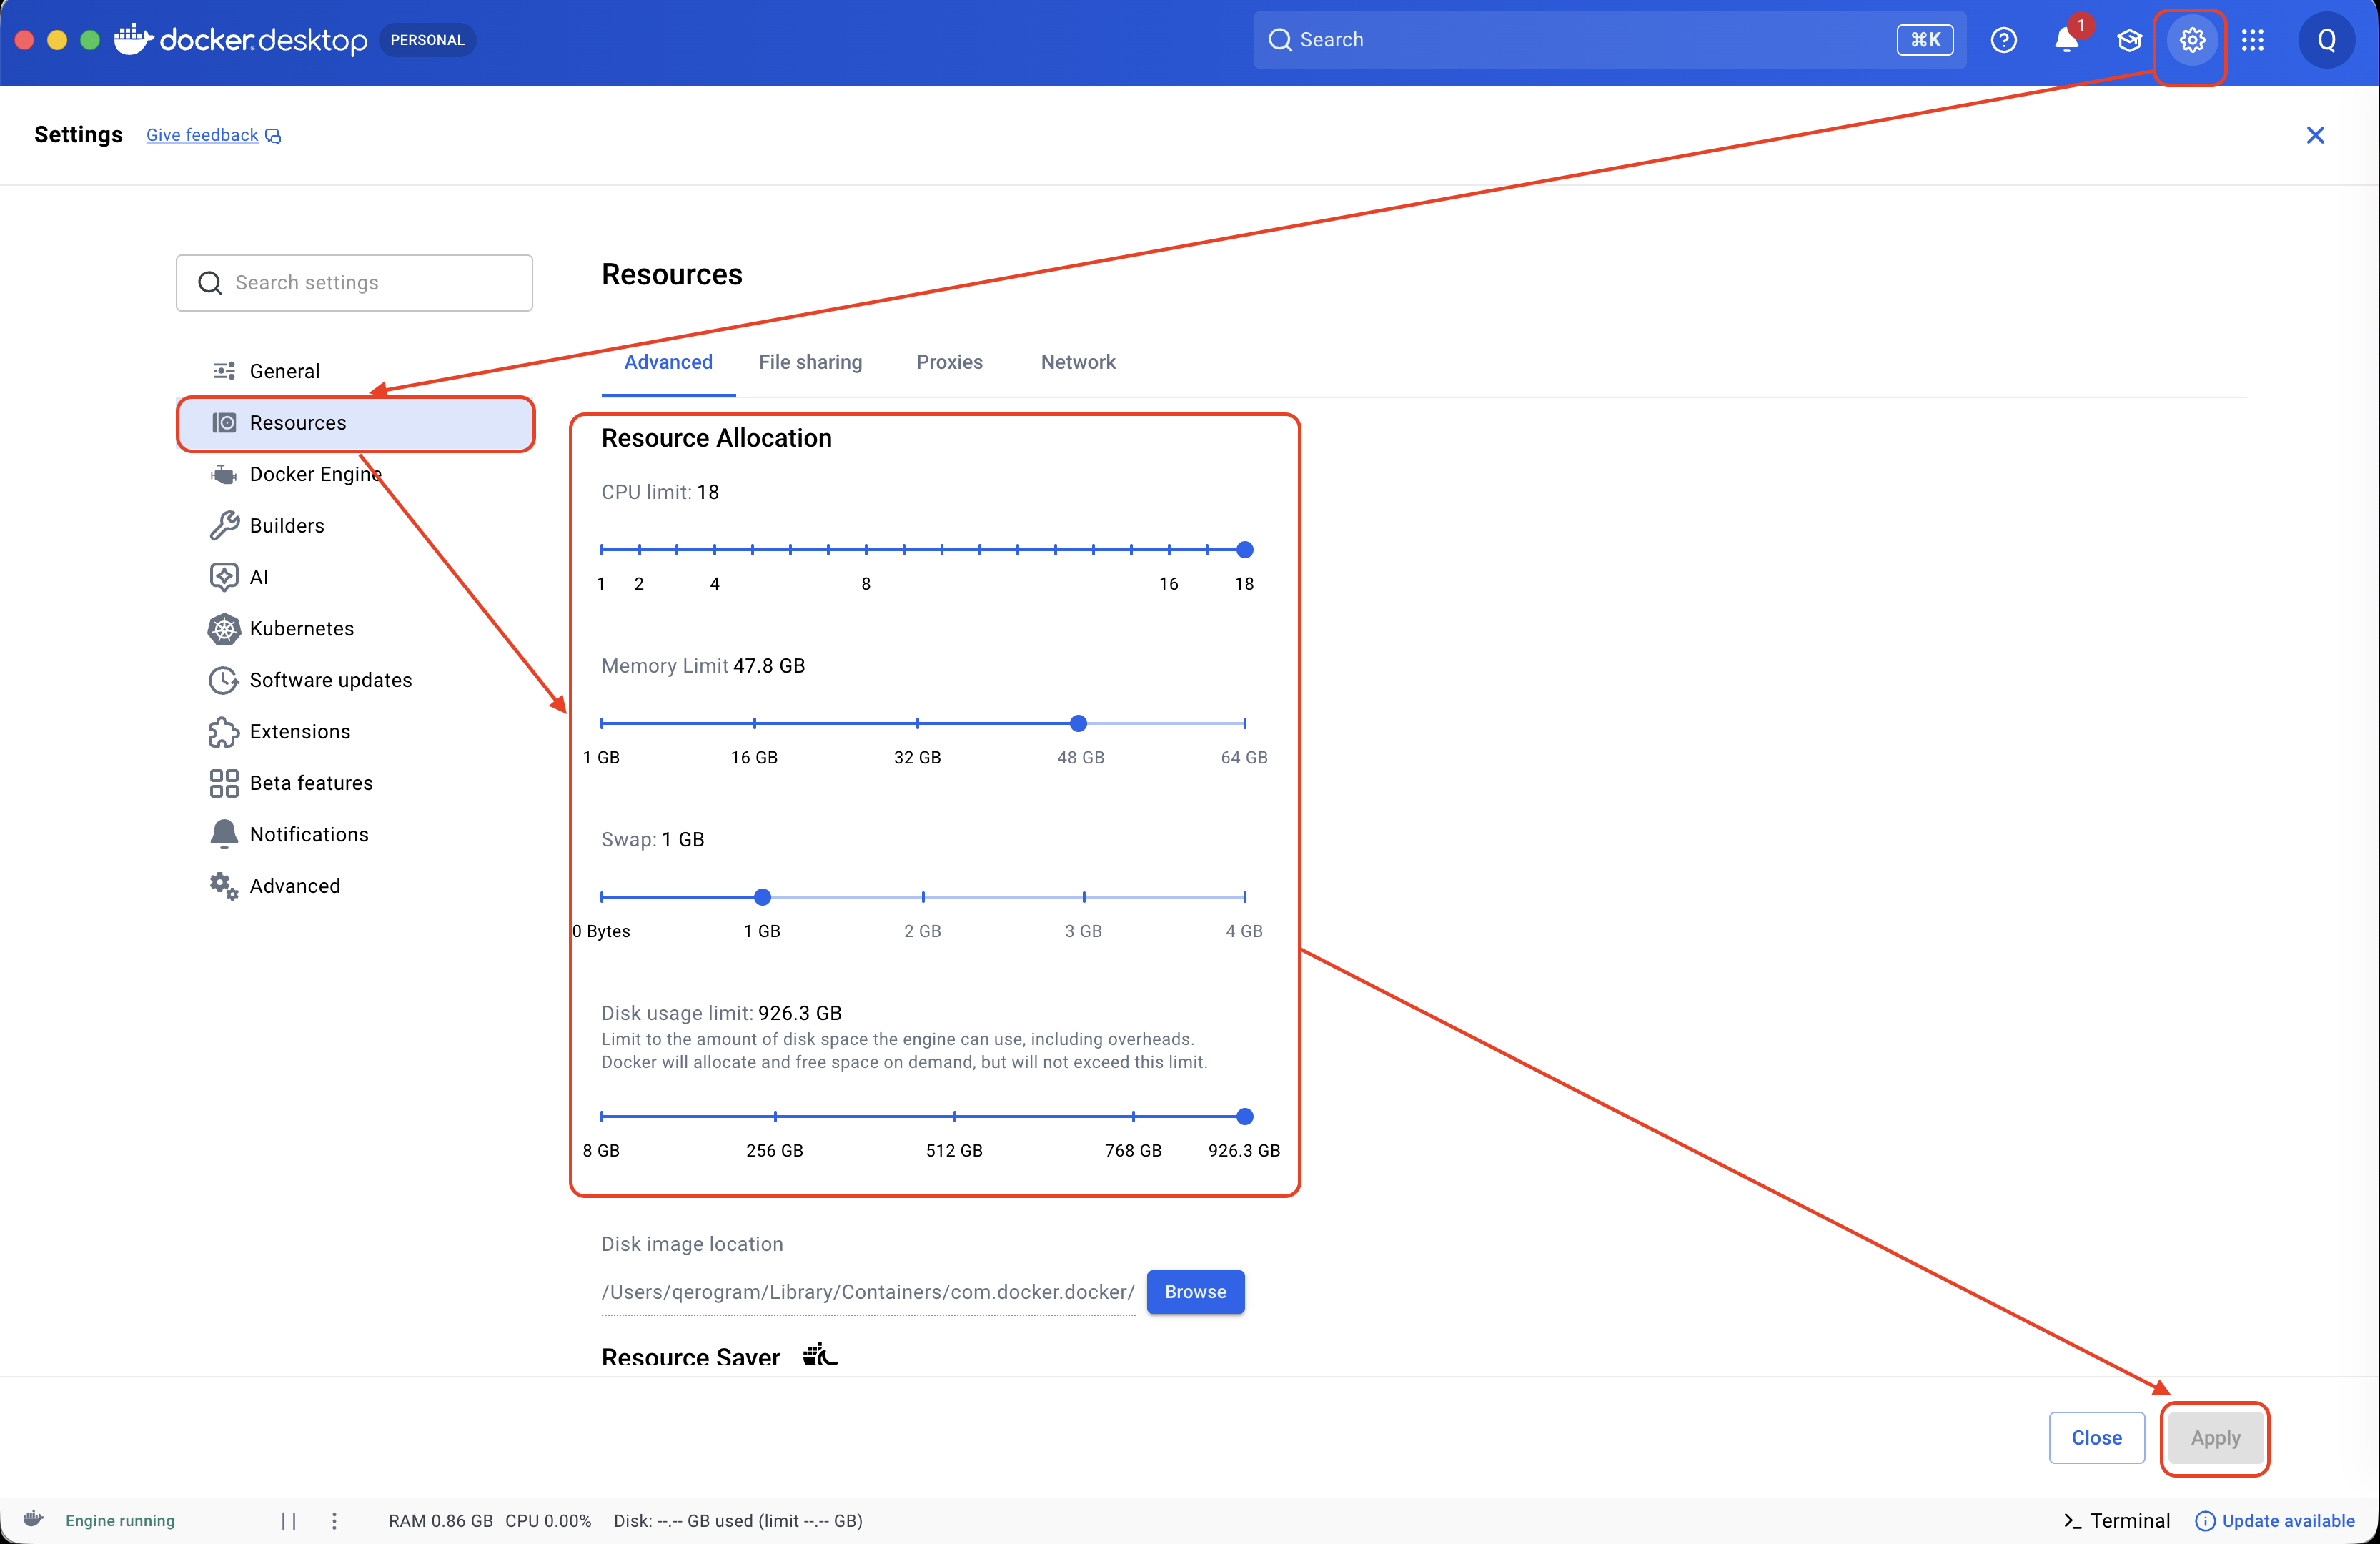
Important: If your machine has limited resources, consider using a remote build server or accepting significantly longer build times.
Wrapping Up
With GitHub access, VS Code, and Docker configured, your development environment foundation is complete. In the next post, we’ll set up minikube and prepare the full local Kubernetes environment for testing our Redis proxy changes.
See you in the next article.